
Enabling the loyalty program in DPOS allows you to reward your regular customers and encourage repeat business. This guide will walk you through the simple steps needed to activate and configure the loyalty module in DPOS.
Notes:
- This loyalty setup applies only to POS transactions, not online orders.
- It requires a phone number to track points (e.g., pickup /shop and delivery orders).
- It does not apply to restaurant table transactions.
Example of Loyalty Redemption Tiers in DPOS
Redemption Tiers:
-
1st Tier – Small Items (Low Value)
-
Ideal for lower point balances.
-
Examples: Garlic bread, fries, soft drinks, mini desserts.
-
-
2nd Tier – Medium-Sized Items (Medium Value)
-
Mid-range rewards that require a moderate amount of points.
-
Examples: Chicken wings, fresh salads, pasta, specialty sides.
-
-
3rd Tier – Larger Items (High-Value Items)
-
Reserved for customers with high point balances.
-
Examples: Large traditional pizzas, family-sized pastas, premium platters.
-
In this example we will illustrate a loyalty program which has the following parameters:
A transaction worth $10 dollars will accrue 1 Loyalty Point
1st Tier Redemption will occur when customer earns 10 points
2nd Tier Redemption will occur when customer earns 20 points
3rd Tier Redemption will occur when customer earns 30 Points
Step-by-Step Setup
Log in to DPOS
- Open the DPOS application.
- Use your admin credentials to log in.

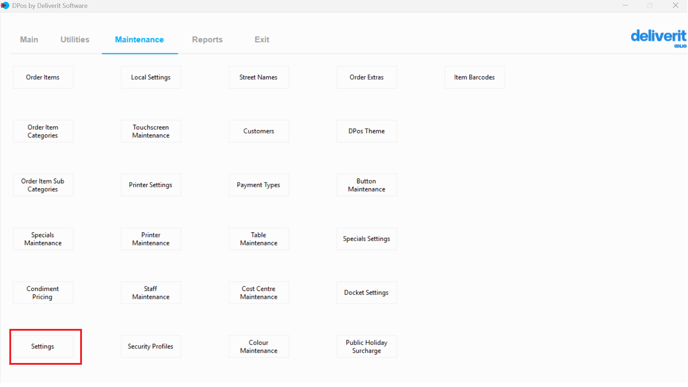
Access the Settings Menu
- Click on the Maintenance tab.
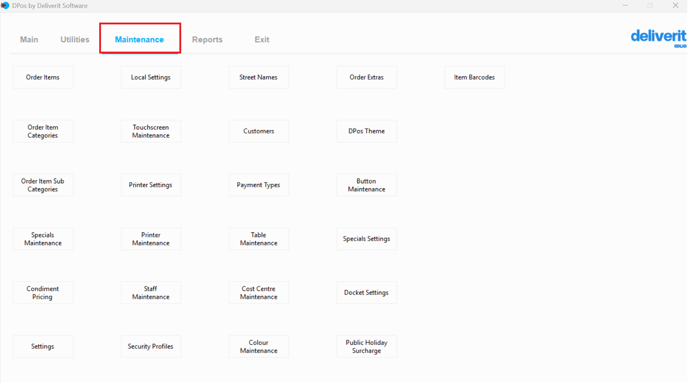
- Select Settings from the available options.
Enable and Configure Loyalty Settings
- In the search bar, type the following fields and set them accordingly:
- Search and set up individually.
Loyalty Enabled – Set to Y to activate the loyalty module.

Loyalty Expiry Days – Set the duration for which points remain active (recommendations are : 90 days / 180 / 365 days).

Loyalty Order Value – Define the dollar amount required to earn points (e.g., $10).

Loyalty Points Value – Set how many points are earned per dollar spent (e.g., 1 point).

Loyalty Print Summary – Set to Y to print the points summary on customer receipts.

Save Your Settings
- Once all fields are configured, click Save to apply the changes.
Note: The customer will begin accumulating points on their next order, and the points balance will be printed on the receipt.
By following these steps, you will be able to set up the loyalty points scheme in DPOS efficiently. If you require further assistance with the settings required, please contact our application support team.
Related Articles:
How to Redeem Loyalty Points in DPos
A guide on how to redeem customer loyalty points during a sale and check remaining balances in real-time.
Guide Link: How to Redeem Loyalty Points in DPos
How to Manually Assign Loyalty Points to Customers in DPOS
Learn how to manually adjust customer point balances for corrections or special promotions.
Guide Link: How to Manually Assign Loyalty Points to Customers in DPos
How to Run Loyalty Status Report in DPos
Discover how to generate and interpret loyalty reports to track earned, redeemed, and available points for better program management.
Guide Link: How to Run Loyalty Status Report in DPos
How to Create Loyalty Redemption Items in DPOS
Step-by-step instructions for creating loyalty menu items, assigning PLU codes, and defining redemption values for each item.
Guide Link: How to Create a Loyalty Redemption Items in DPos