
Grouping and Sizes
Items can often contain multiple sizes; this function will assist in grouping the sizes on your menu.
Eg: Margherita Pizza is available in 3 Sizes. Small, Medium, Large.
The user is able to select the sizes from a drop-down selection box on the online ordering menu.
This can be achieved by taking the following steps:
Customise Sizing: Create sizing groups for items.
Organize Menu Items: Group similar items for a more structured and efficient menu.
Deploy Changes: Publish updates to the online ordering platforms.
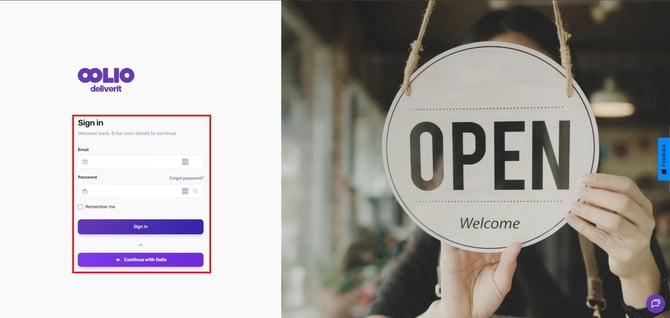
Log In to Deliverit Studio
Log in to my.deliverit.com.au Enter your username and password.
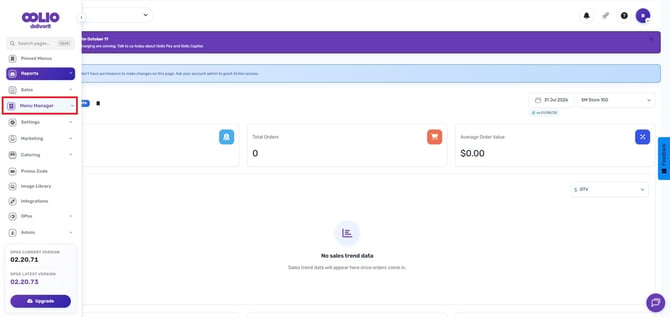
Go to Menu Manager
Navigate to the left and click Menu Manager.
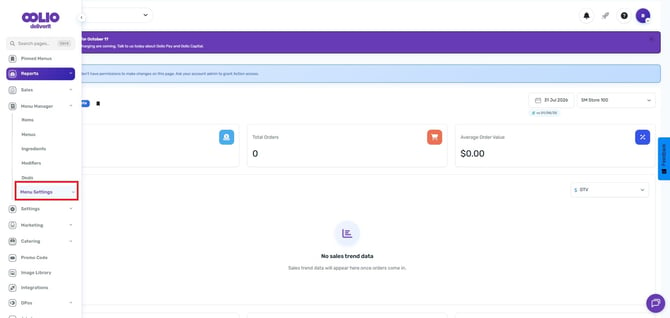
Access Menu Settings:
On the selections, choose Menu Settings.
Then, choose Item Sizing.
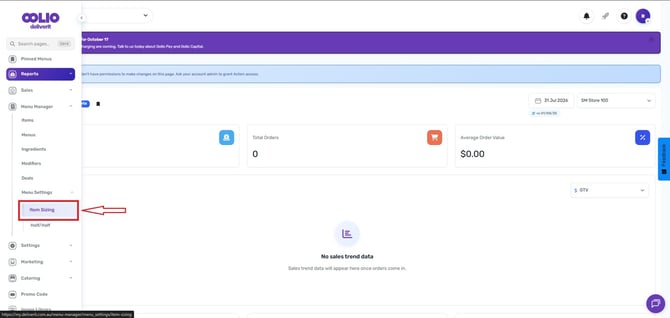
Create Sizing Group
Under the menu tab, create the size group you are going to use.
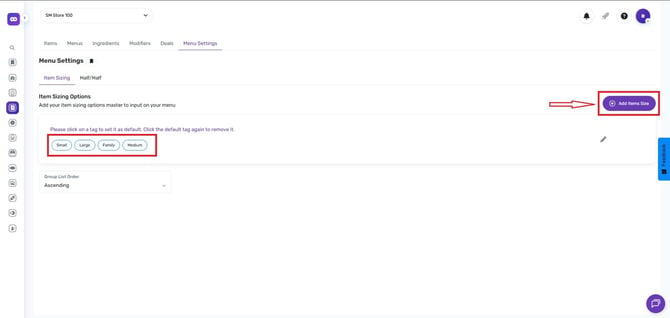
Create a New Item
Create an item that you will assign to the size group.
Click Here for detailed instructions on creating an item: Add Item Wizard
Ensure that the sizing is selected when creating the item.
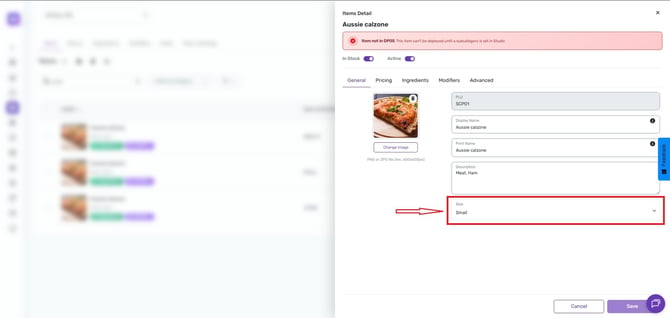
When done, go to the Menus tab.
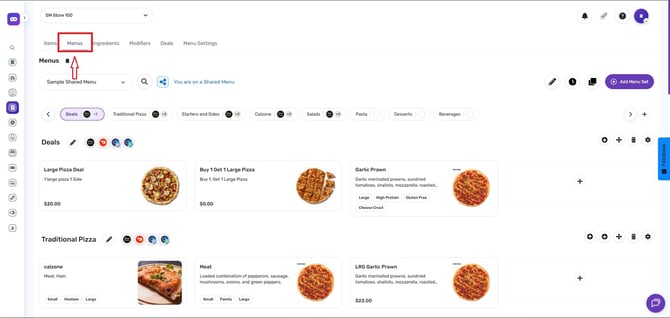
Select the Menu:
Click on the dropdown menu and select the menu to which you want to add grouped items.
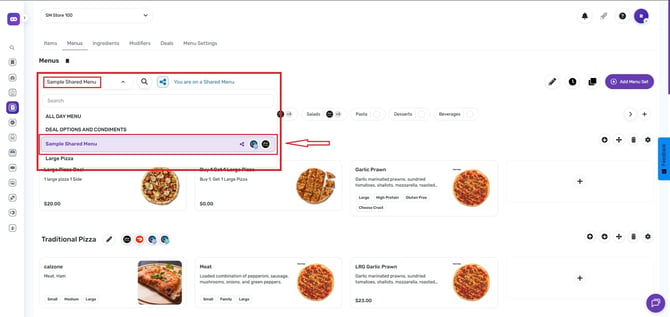
Add Grouped Items
Select a category on the menu.
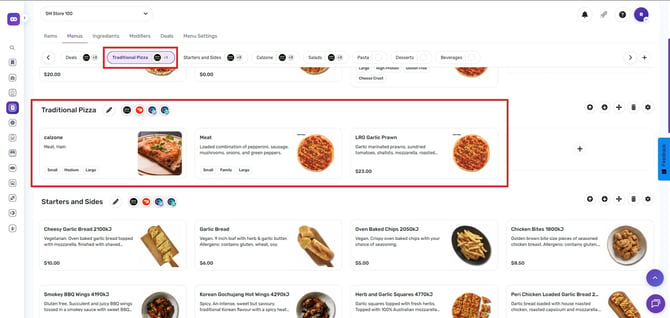
Click the plus sign (Add Item ) to open the option to add grouped items.
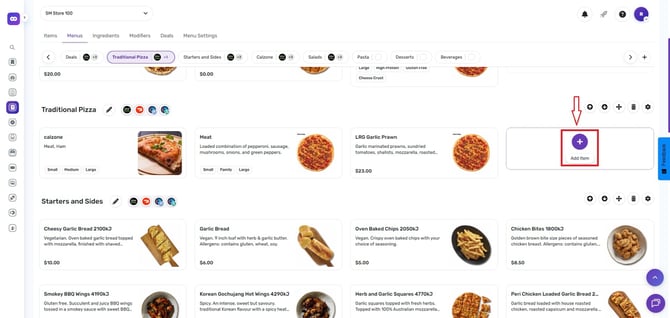
Select and Group Items
Choose the items you want to group by clicking on them.
Once selected, click the Auto Group button to automatically group the selected items.
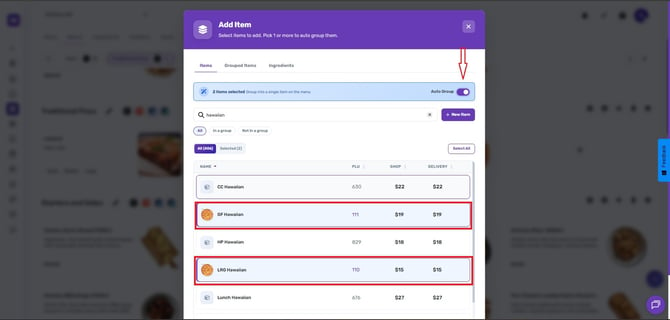
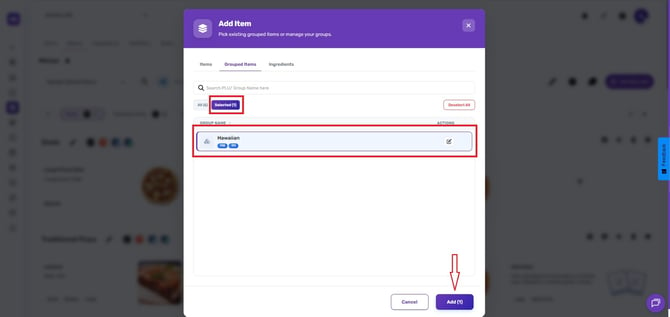
Click the Selected tab.
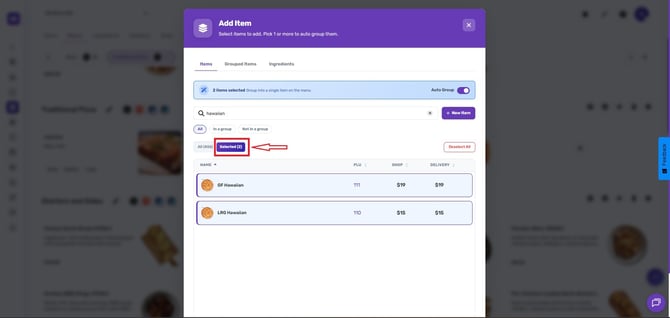
Click the Add button.
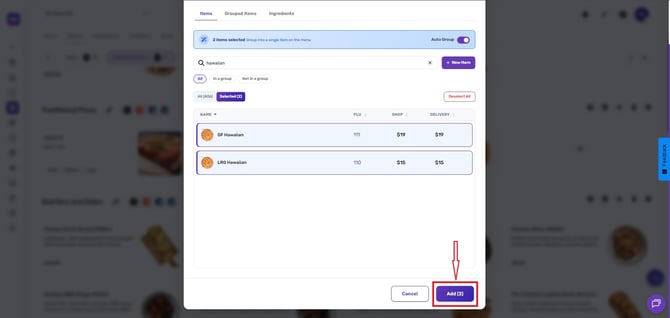
Choose the newly created group, click the Selected tab, and then click Add to assign items to the group.
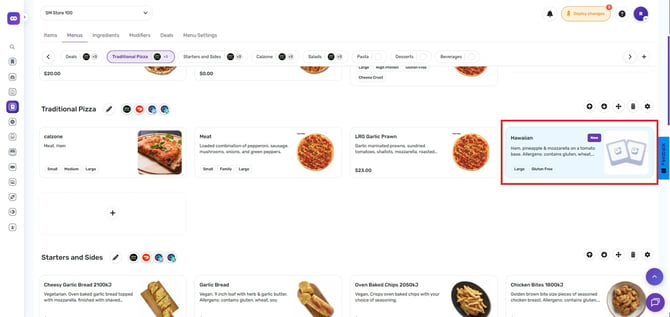
Note: The newly grouped item will be tagged as New.
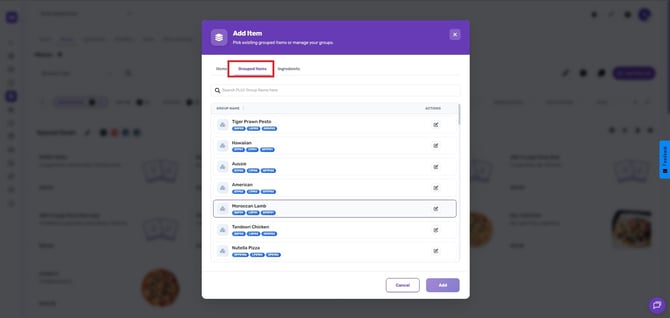
To view the grouped items, go to the Group tab.
Deploy the Menu
Click the rocket icon in the upper right corner of the page.
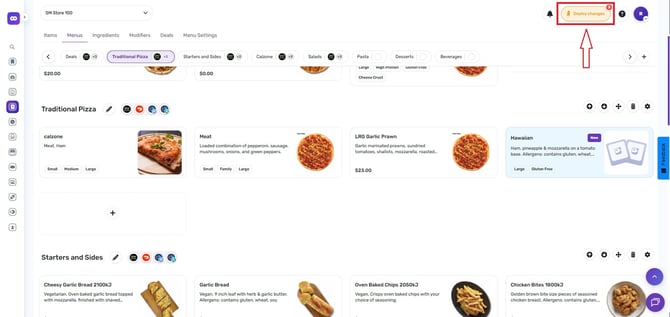
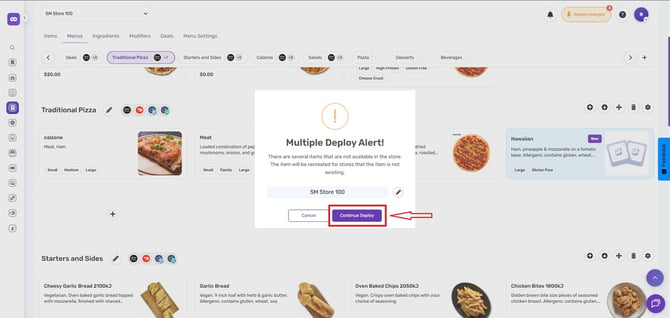
Then hit the Deploy button to publish the changes.
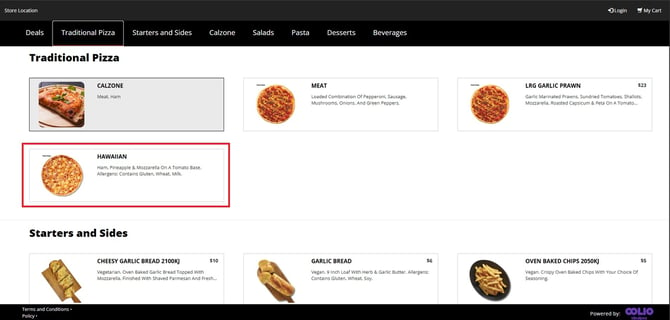
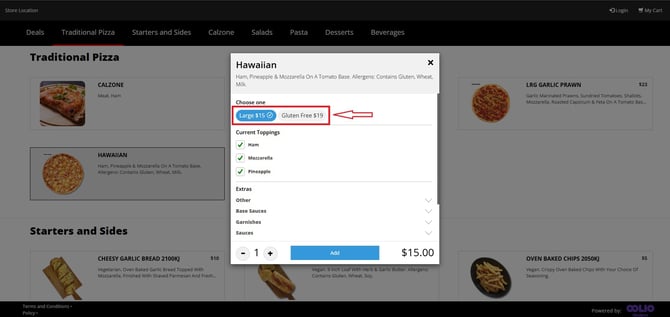
By following these steps, you will be able to display group sizes on your online ordering platforms efficiently. If you need further assistance, simply click the blue chat icon at the bottom-right corner of the screen to connect directly with our Application Support Team.