Generating Delivery and Driver Reports in DPOS
This guide helps you track driver performance and delivery summaries in your store using DPOS. Stores can use this when analyzing delivery efficiency or reviewing driver activity.
How to Generate a Delivery and Driver Report
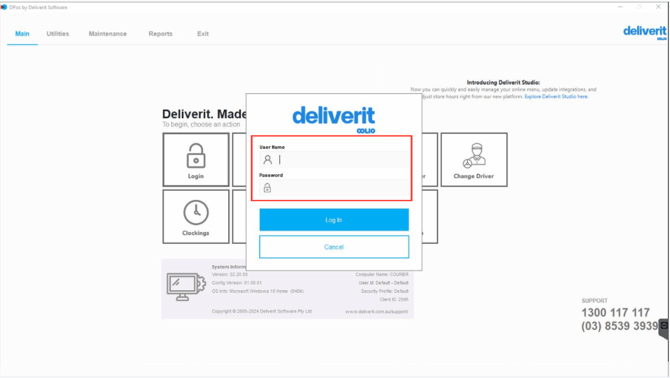
Log into DPOS:
Sign in with your username and password.
Generate a Driver Report
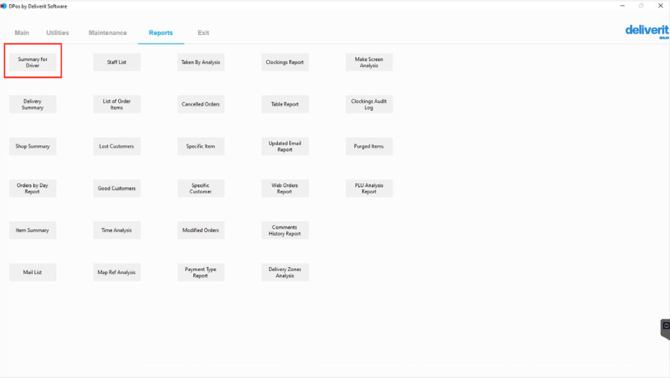
- Navigate to the Reports tab from the main menu.
- Select Summary for Driver.
- Choose the start and end dates for the report.
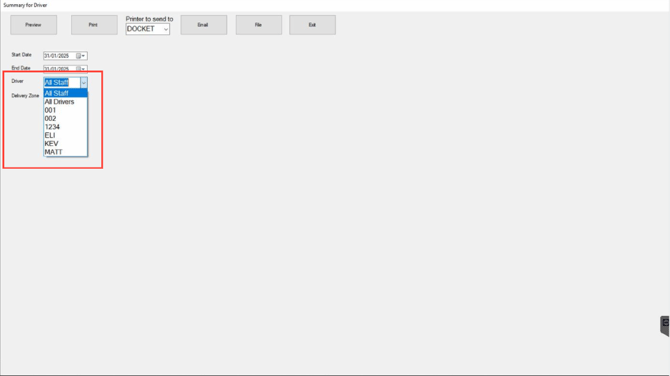
- Select the driver’s name from the dropdown menu or search field.
- Click Preview to display the report.
Generate a Delivery Summary Report
- In the Reports tab, select Delivery Summary.
- Choose the start and end dates for the report.
- Click Preview to view the delivery summary.
These reports help analyze delivery trends and track driver activity efficiently in your store using DPOS.
Step-by-Step Process
Step 1: Sign In to the DPos Application
Enter your username and password to log in.
Note: Before generating the delivery report, please verify that there are delivery orders recorded in the system. If no delivery orders exist, the report would not display any data.
Navigate to the Report Tab
Once logged in, locate the Report Tab on the main dashboard or navigation menu.

Select “Summary for Driver”
Within the Report Tab, look for the option labelled “Summary for Driver.”
Choose a Date Range
Select the desired start and end dates for the report.
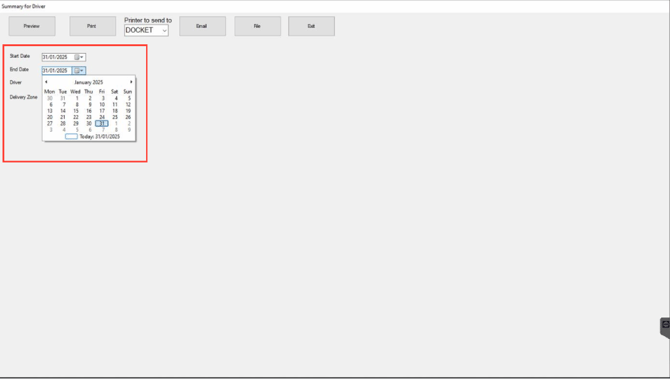
Select a Driver
Select the driver’s name from the dropdown menu or search field.
Click Preview
Once the date range and driver are selected, click the Preview button.
This is an example preview for the All Staff:

This is an example preview for the Specific Driver, which contains additional information.

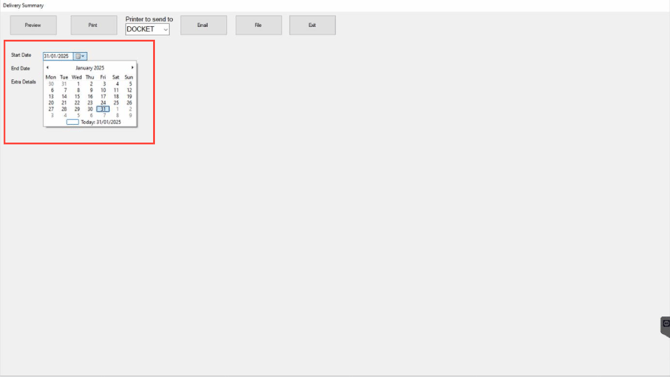
Step 2 is to Select “Delivery Summary”
Within the Report Tab, look for the option labelled “Delivery Summary”

Choose a Date Range
Select the desired start and end dates for the report.
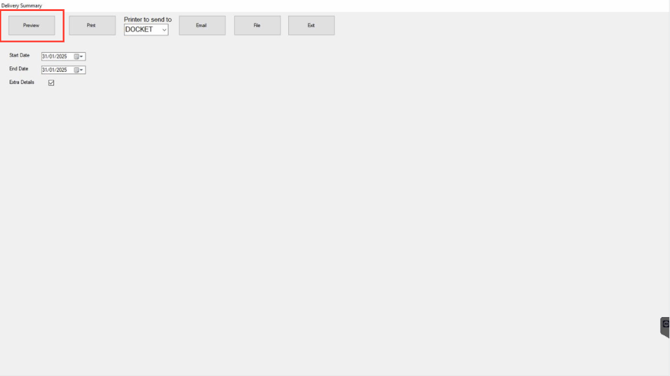
Click Preview
Once the date range is selected, click the Preview button.
Example report excluding extra Details.

Example report including extra Details.
By following these steps, you will be able to generate a delivery reports summary on DPos efficiently. If you need further assistance, simply click the blue chat icon at the bottom-right corner of the screen to connect directly with our Application Support Team.