How to Enable Restaurant Module on DPOS
The Restaurant Module allows you to access features designed for Restaurant service, such as table management and restaurant layout control. Follow the steps below to enable the module on your DPos touchscreen.
Step-by-Step Guide
Log in to DPOS
Launch the DPOS application and log in using your staff credentials.

Create a Backup (Recommended)
Before making any changes, it’s a good idea to back up your current settings.
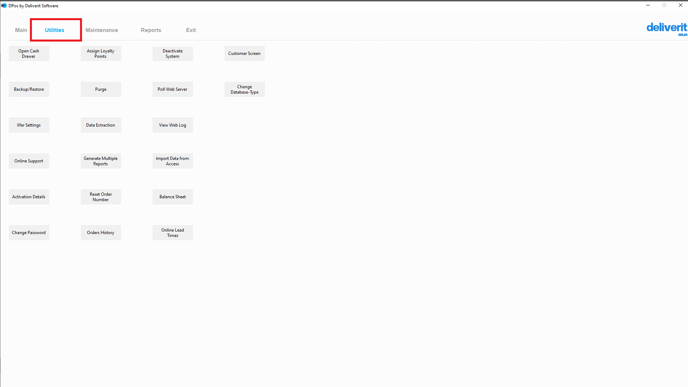
- Go to the Utilities tab.
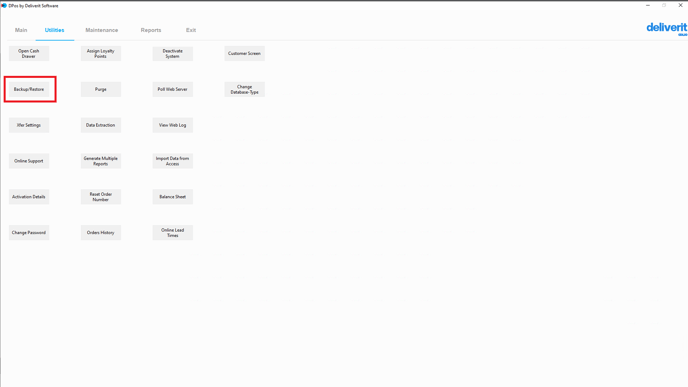
- Click Backup/Restore.
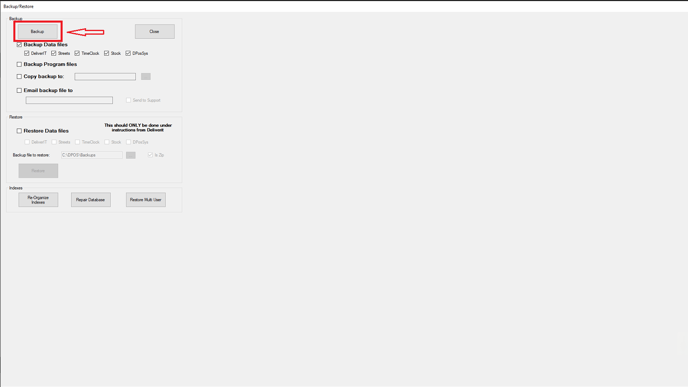
- Click the Backup button to save your current configuration.
Open the Maintenance Tab
From the top menu, click on the Maintenance tab.

Select Button Maintenance
In the maintenance section, choose Button Maintenance to access the touchscreen button layout.

Edit a Button
- Click on the button you want to replace with the restaurant module.

- Then, click the Edit button to modify it.
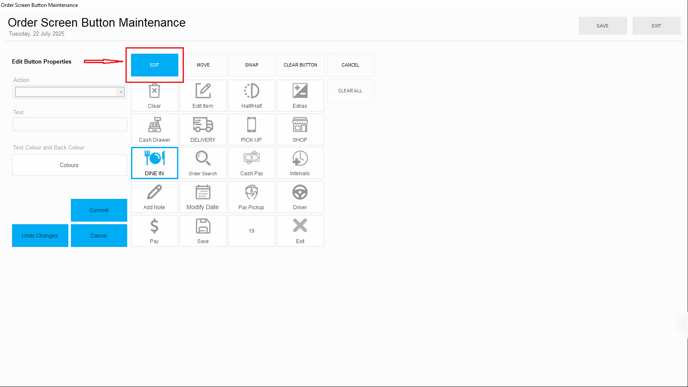
Assign the Restaurant Button
- From the list of available functions, select the Restaurant button.
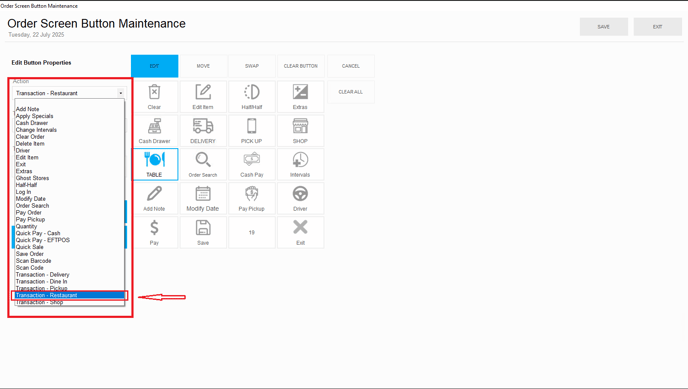
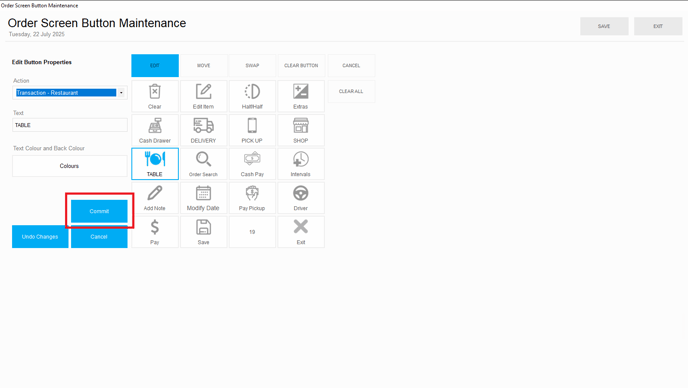
- Click Commit to apply the change.
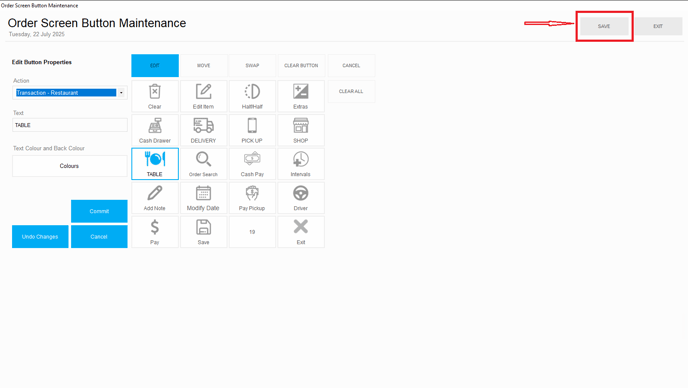
Save Your Changes
- After committing the button change, click Save to confirm your update.
Restart the DPOS Application
To activate the restaurant module, close and restart the DPOS app. The new layout will load with the restaurant module enabled.


To create a new table layout, simply follow this step-by-step guide. How to Create a New Table Layout on DPOS (Restaurant).
By following these steps, you'll successfully enable the Restaurant Module on DPos. If you require further assistance, please contact our application support team.