Step-by-Step Guide
Log In to DPOS
Log in to your DPOS system using your staff credentials.

Back Up Your Settings
- Go to the Utilities tab.
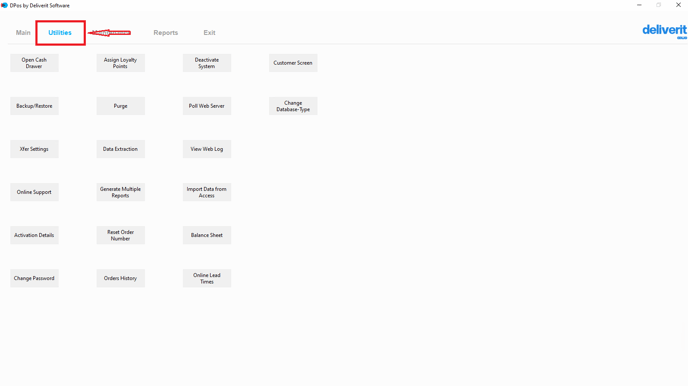
- Click the Backup/Restore button.
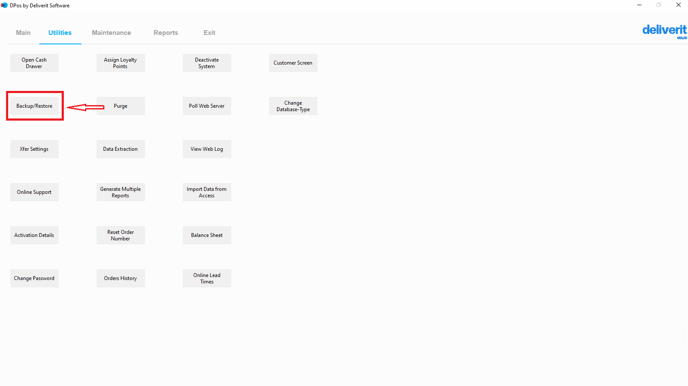
- Select Backup Now to save your current system settings.
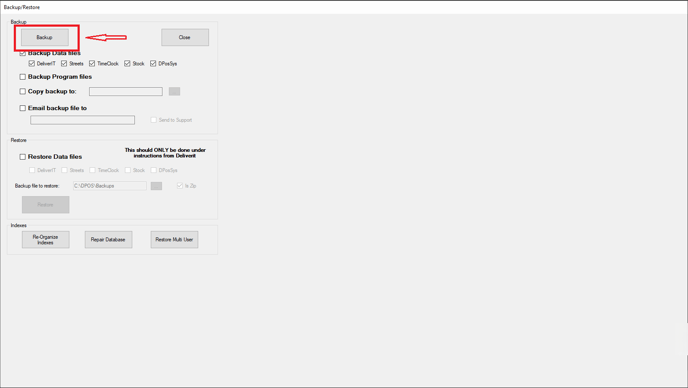
Note: Always back up before making changes to system configurations.
Open System Settings
- Go to the Maintenance tab.
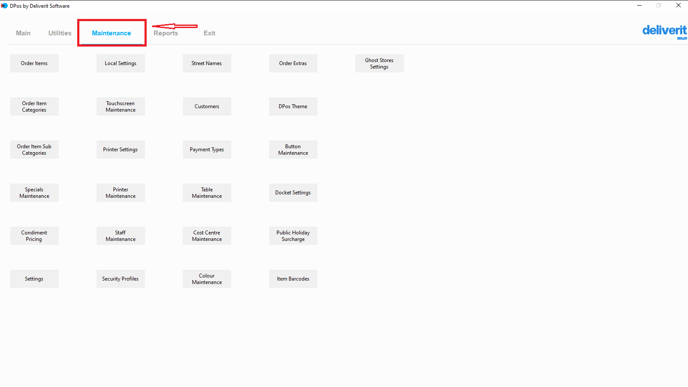
- Click the Settings button.

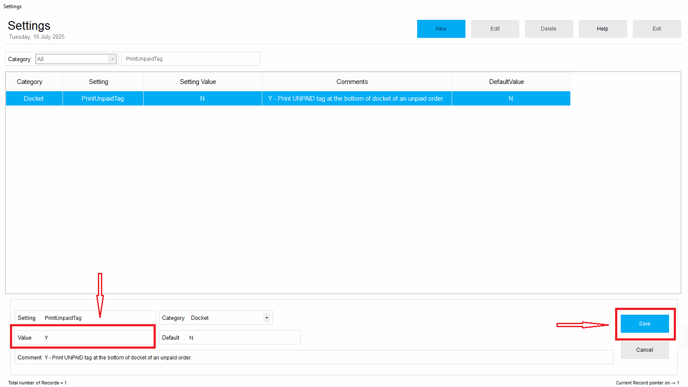
Find the Setting
- In the settings window, use the search bar to search for:
PrintUnpaidTag
- Double-click on the result to edit.

Enable the PAID Tag
- In the Value field, type Y to enable the feature.
- Click Save to apply for the change.
Take an Order
To learn how to take and pay for a shop or counter order in DPOS, please refer to this guide:[How to Take and Pay for a Shop / Counter Order on DPOS]
Restart DPOS
- To ensure the update takes effect, restart your DPOS system.
Once this setting is enabled, future dockets will include a PAID tag at the bottom when an order is fully paid.

By following these steps, you’ll successfully enable the PAID tag on your DPOS dockets to improve payment visibility. If you need further assistance, please contact our application support team.