Step-by-Step Guide
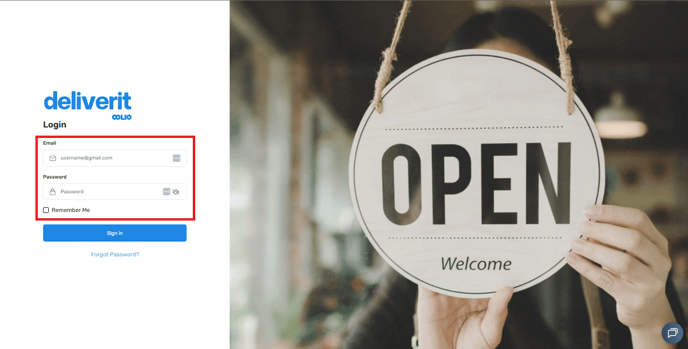
Log in to Deliverit Studio
- Enter your DPos Cloud username and password.
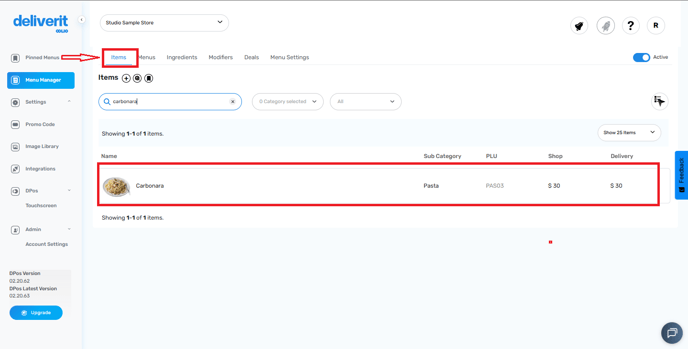
Locate the Item
- You can find the item in the Menu Manager under either the Items tab
- Use the search bar to quickly locate the specific item.
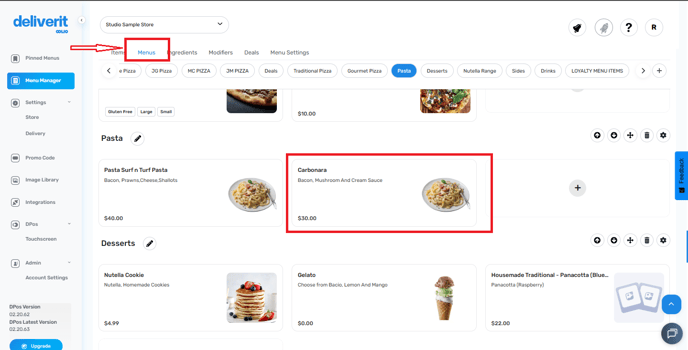
- or the Menus tab.
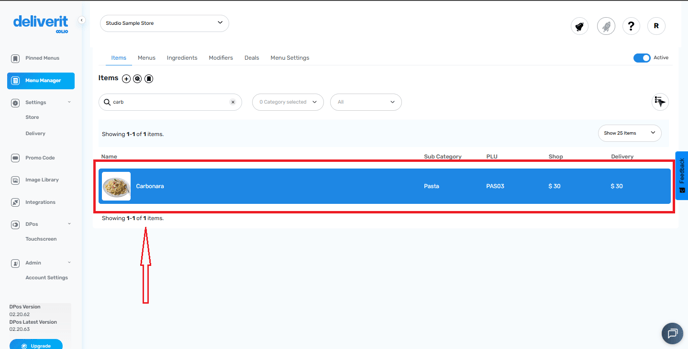
Open Item Settings
- Click on the item to open its settings panel.
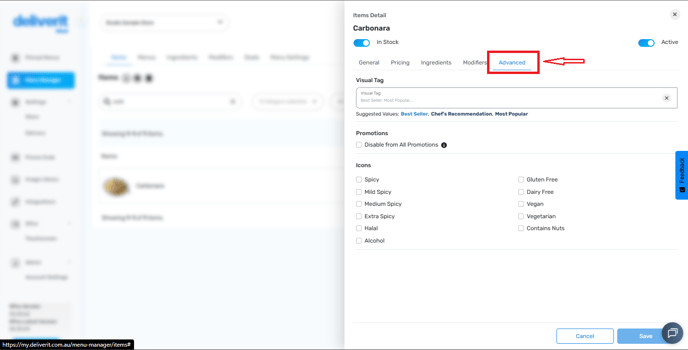
Access the Advanced Tab
- Navigate to the Advanced tab to view more item configuration options.
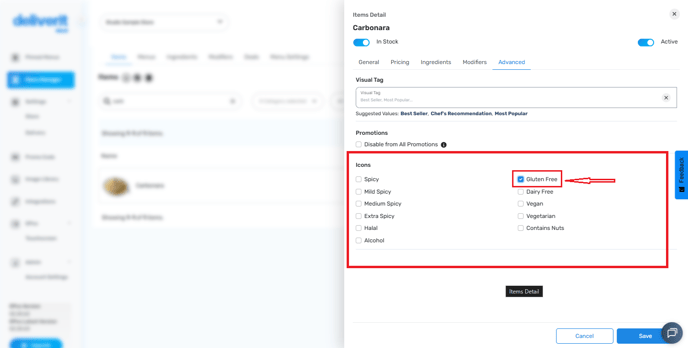
Assign Dietary Icon Tags
- Under the Icons section, select all applicable dietary tags for the item (e.g., Vegetarian, Vegan, Gluten-Free, Dairy-Free).
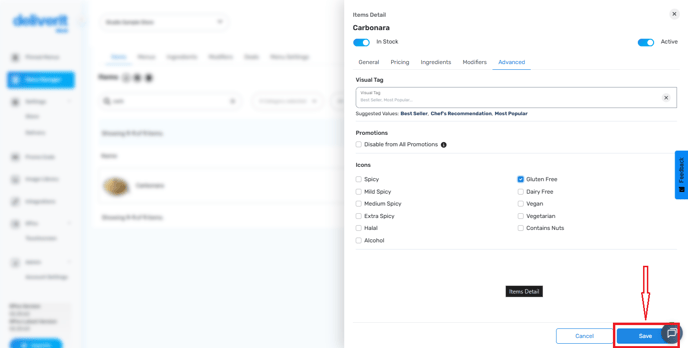
Save Your Changes
- Click the Save button to store your updates.
Deploy the Changes
- Click the Rocket icon in the top right corner.
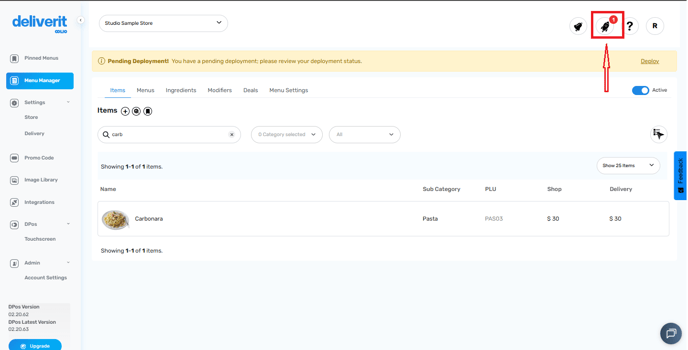
- Select Deploy to publish your updates live on your ordering platforms.

Now the item displays the Dietary Tag.

Note:
- For grouped items, it is necessary to assign the tags to each item size individually.
- Dietary Icons are only compatible with online ordering platforms; they will not flow to UberEats, Menulog, and DoorDash.
By following these steps, you can easily enable dietary icon tags for your items in Deliverit Studio, making your menu more informative and customer-friendly. If you need further assistance, simply click the blue chat icon at the bottom-right corner of the screen to connect directly with our Application Support Team.