The touchscreen keyboard in DPOS can be enabled or disabled based on your store’s preferences. This guide will walk you through the steps to control this feature.
Note: This feature requires a display with touch input capability
Step-by-Step Instructions
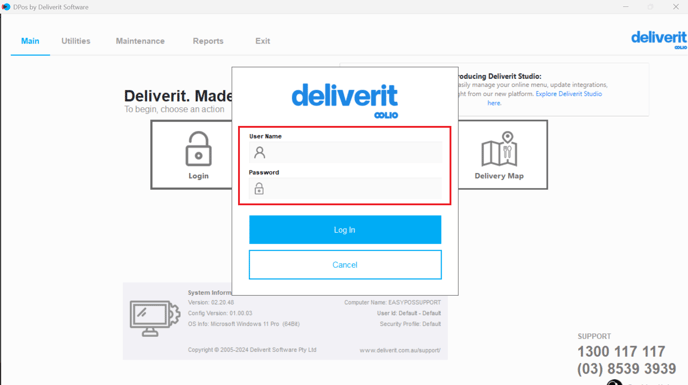
Log in to DPOS
- Open the DPOS application.
- Use your admin credentials to log in.

Create a Backup
- Go to the Utilities tab and click the Backup/Restore button.


Access the Settings
- Go to the Maintenance tab.
- Click the Settings button to open the global settings menu.

Find the Touch Keyboard Setting
- Use the search bar to find Touch Keyboard.
- Double-click to open the settings.

Enable or Disable the Keyboard
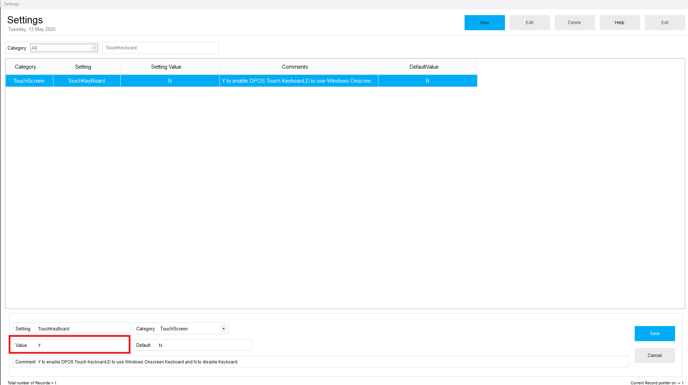
In the Value section, choose your preferred setting:- To Enable: Enter Y.

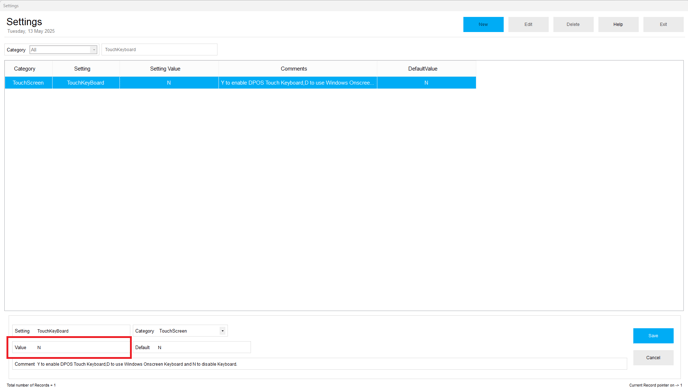
- To Disable: Enter N. A physical keyboard must be connected for proper operation.

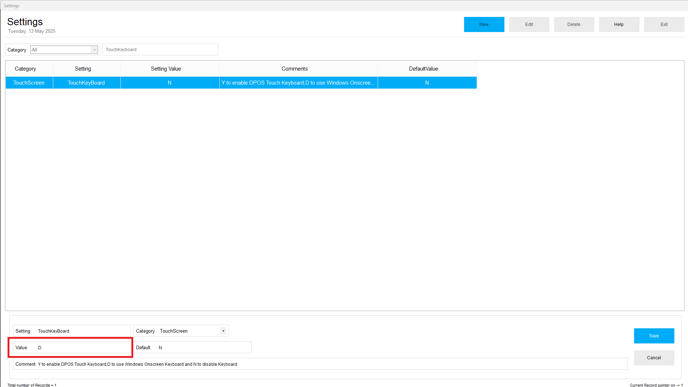
- To Enable: Enter D. (Windows Onscreen Keyboard)

Save Your Changes
- Click the Save button to apply your changes.

Tips:
DPOS supports different keyboard styles, including:- DPOS touchscreen Keyboard – Designed for quick order entry.

You can use the arrow keys to move the keyboard up or down.


- Windows Onscreen Keyboard – Standard keyboard layout for a more familiar experience.

For this setup, you can drag and drop the keyboard to move it up or down.


By following these steps, you will be able to enable or disable the touchscreen keyboard in DPOS as needed. If you require further assistance, please contact our application support team.
