How to Edit The Apply Specials Screen in DPOS
The Specials Screen in DPOS allows you to customize and manage your promotional item selections, making it easy to highlight deals and discounts. This guide will walk you through the process of editing the specials screen.
Note:
- Make sure the Apply Discounts option is enabled in your settings.
- For more instructions, follow this link: How to Edit the Control Button on the Order Taking Screen in DPos.
Step-by-Step Instructions
Log in to DPOS
- Open the DPOS application.
- Use your admin credentials to log in.

Access the Specials Settings
- Go to the Maintenance tab.
- Click on Special Settings to open the specials management screen.

Edit the Name of a Special
- Click on the special to select it.
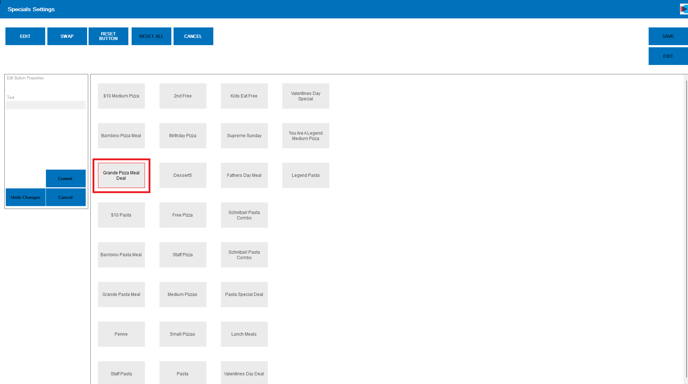
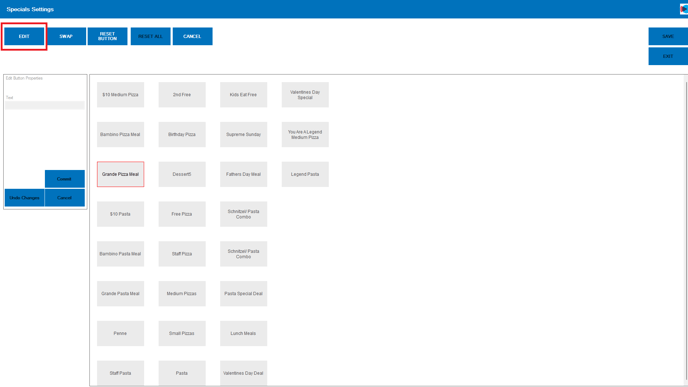
- Click the Edit button in the upper left corner.
- Update the name as needed.
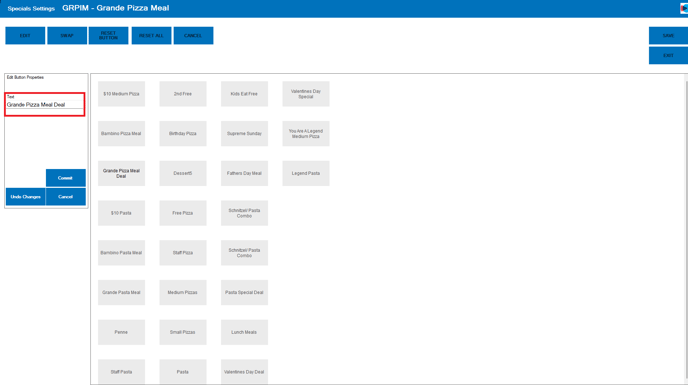
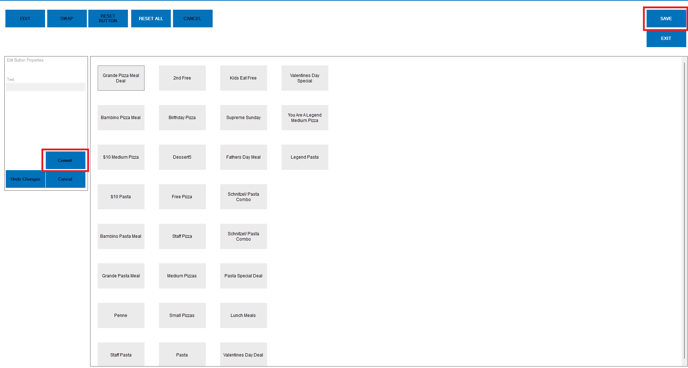
- Click Commit, then Save to apply the changes.

Swap the Position of Specials
- Click on the special you want to move.

- Click the Swap button in the upper left corner.
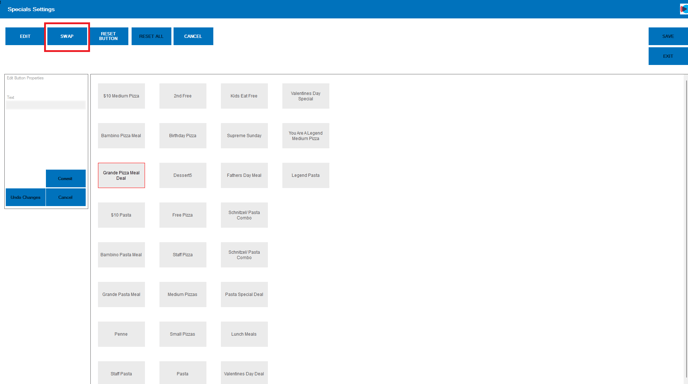
- Select the second special you want to swap positions with.
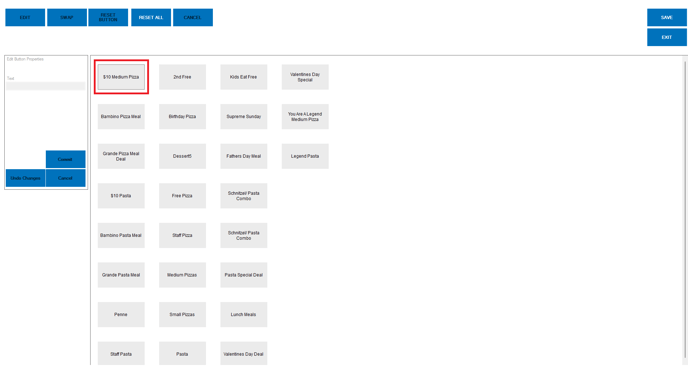
- Confirm the swap to rearrange the specials.
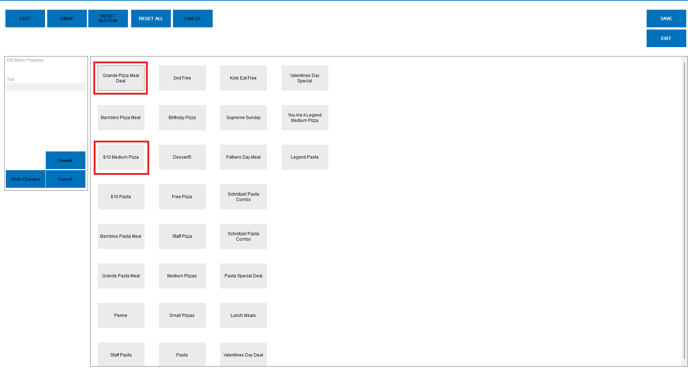
- Click Commit, then Save to apply the changes.
Restart DPOS
- Close and restart your DPOS application for the changes to take effect.
By following these steps, you will be able to edit the specials screen in DPOS efficiently. If you require further assistance, please contact our application support team.