Step-by-Step Guide
Log In to DPOS
Log in to your DPOS system using your staff credentials.

Back Up Your Settings
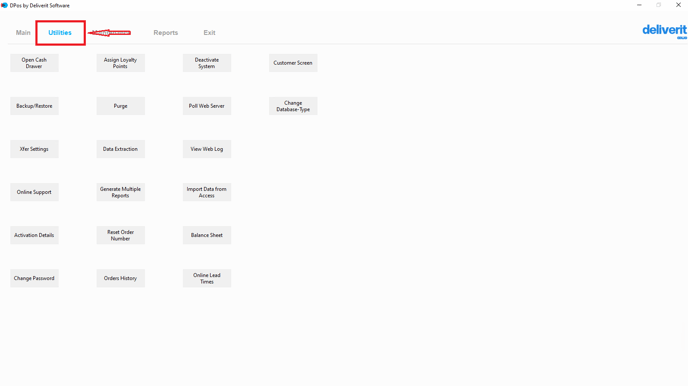
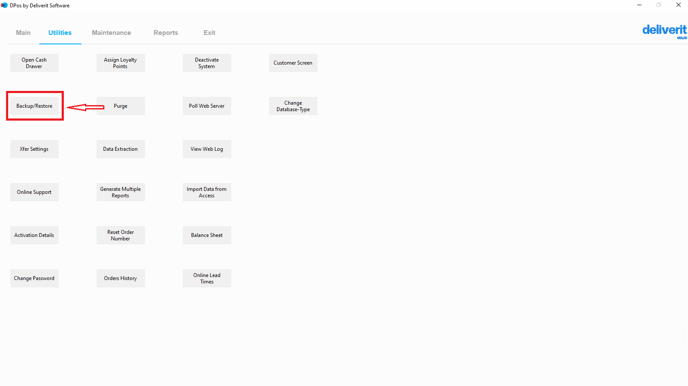
- Go to the Utilities tab.
- Click Backup/Restore.
- Select Backup Now to create a backup of your current settings.
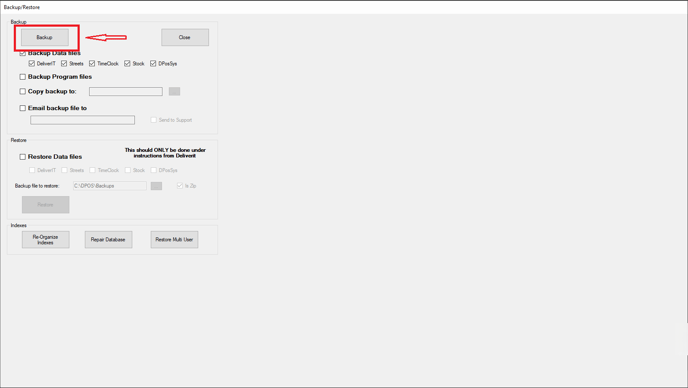
Always back up before making any system changes to avoid losing configurations.
Open the System Settings
- Go to the Maintenance tab.
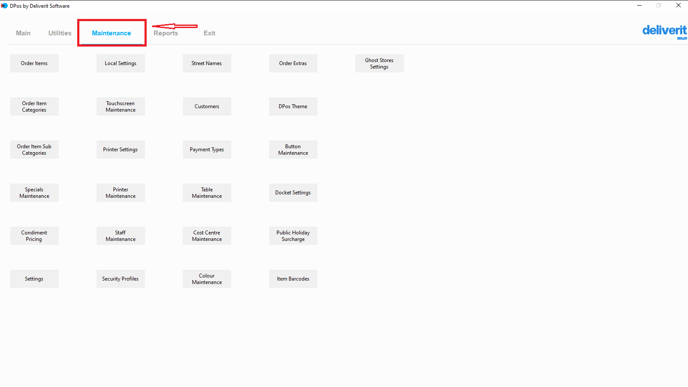
- Click the Settings button.

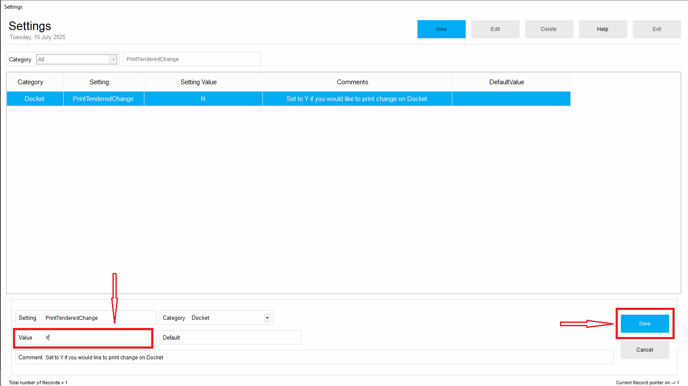
Search for the Setting
- In the Settings window, use the search bar to find:
PrintTenderedChange
- Double-click the setting to edit.

Enable the Feature
- In the Value field, type Y to enable.
- Click Save to apply the change.
Take an Order
To learn how to take and pay for a shop or counter order in DPOS, please refer to this guide:[How to Take and Pay for a Shop / Counter Order on DPOS]
Restart DPOS (If Required)
- Restart DPOS to ensure the setting is activated and reflected on your printed dockets.
Note: Once enabled, your dockets will show:
- Amount Tendered
- Order Total
- Change to Return
- This information will be displayed at the bottom of the printed docket, helping ensure accurate cash handling.

By following these steps, you’ll successfully enable a change in the amount of visibility for cash orders in DPos. If you need further assistance, please contact our application support team.