
Step-by-Step Instructions:
Note: Since only the PLU code is transmitted to the DPos, the deal needs to be created on its own.
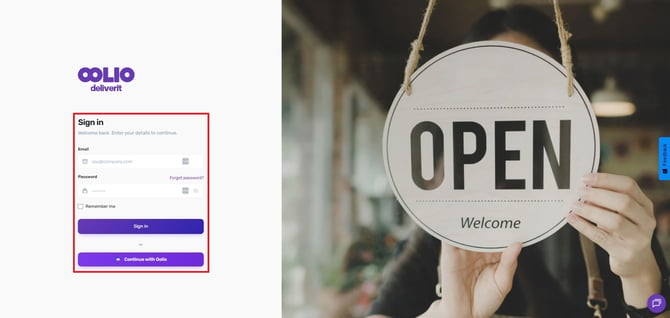
Log in to Studio:
Log in to mydeliverit.com.au and use your username and password to log in.
Go to the Deals Section:
Navigate to Menu Manager.
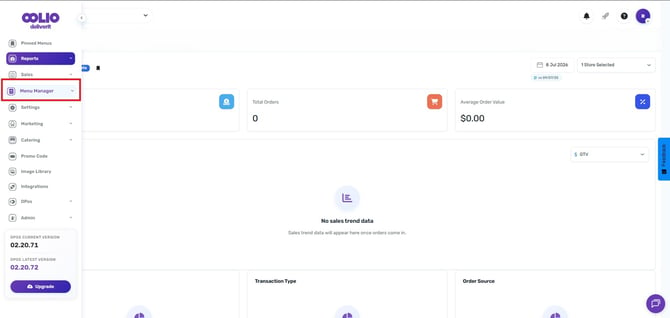
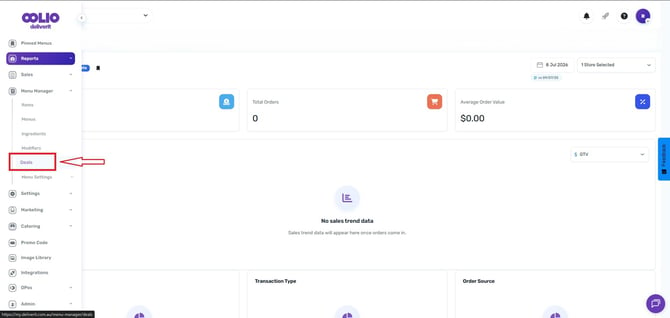
and choose Deals.
Create a New Deal:
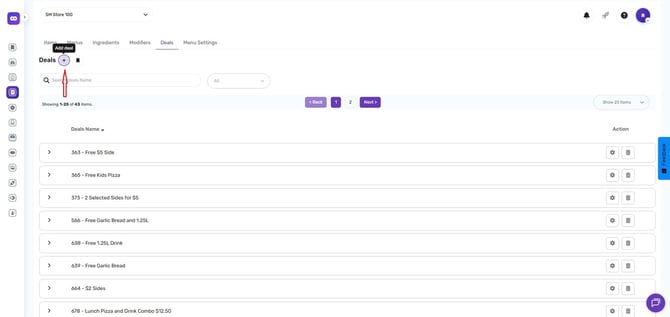
Click the (+) icon to start creating a new Deal.
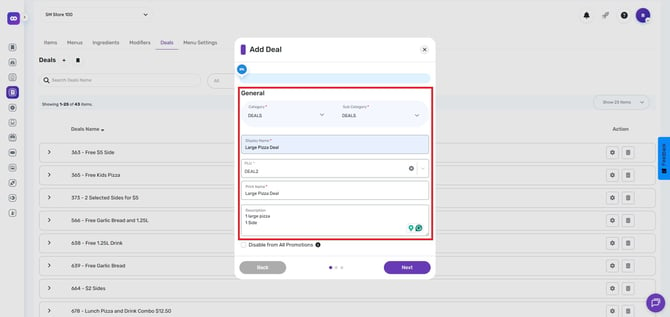
Enter General Information:
Category and Subcategory: Choose the right category for your deal.
Display Name: This is what customers will see on the Website.
PLU (Price Look-Up code): Enter a code for pricing.
Print Name: This is how it will appear on the DPos docket.
Description: Add details about the contents of the deal.
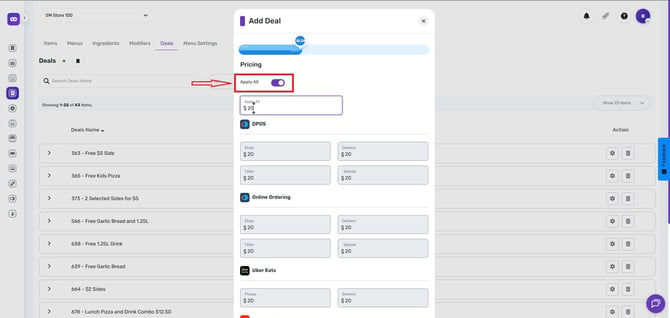
Set Pricing:
Use the “Apply All” button to set the same price for all platforms.
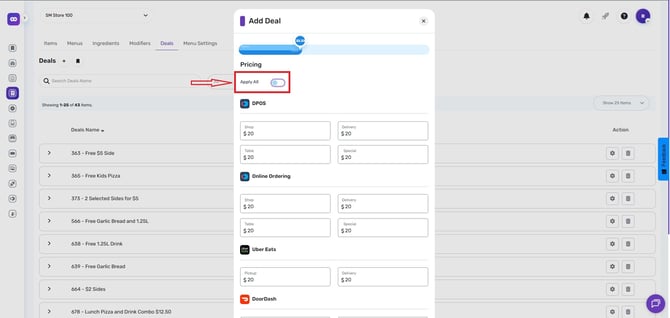
If required, disable the Apply All button and set different prices for each platform.
Set the Image. (optional)
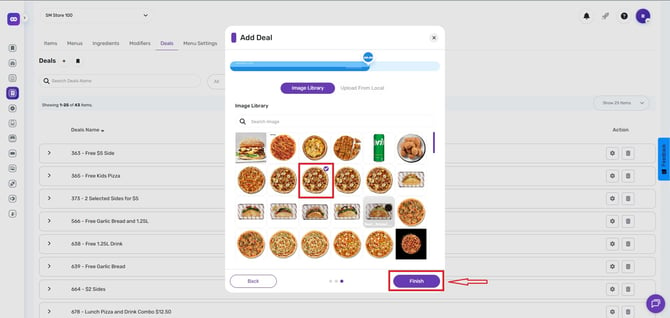
Finish Setup:
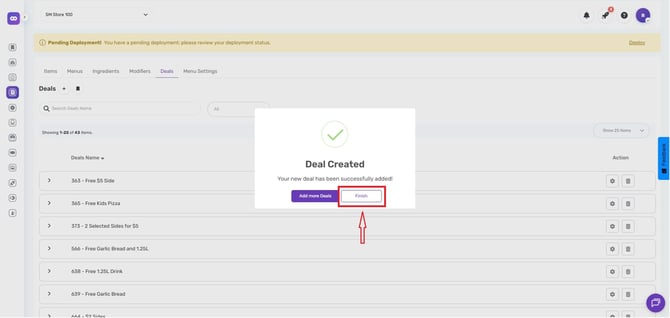
A prompt will ask if you want to add another deal or finish.
Click “Finish.”
Deploy the Deal:
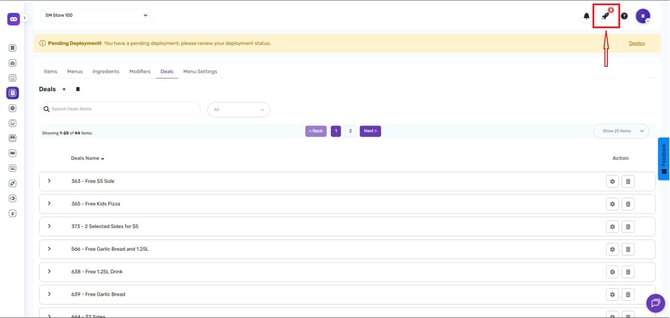
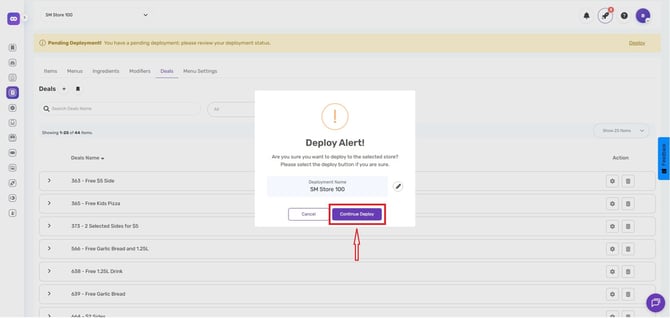
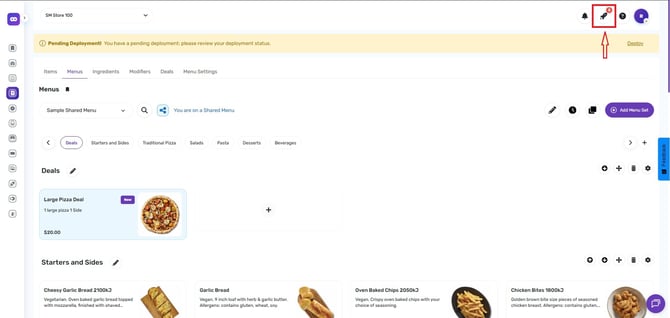
Click the Rocket Icon to make your deal live.
Note: The Deal created will flow to DPos, however, the deal contents and selections will only apply to online ordering platforms.
Set limits per customer, minimum order, and any discount codes.
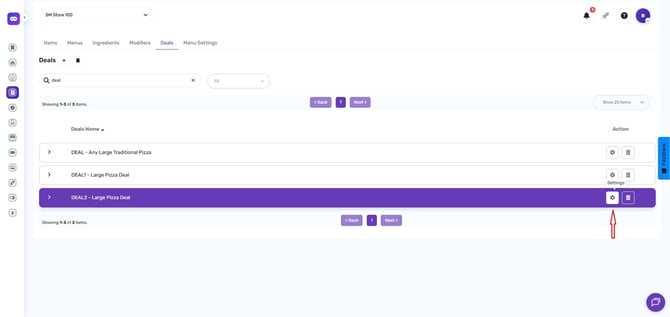
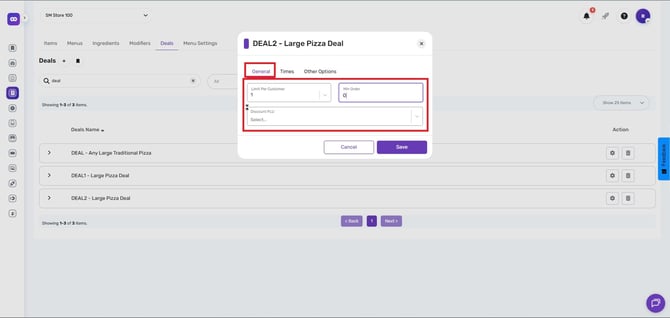
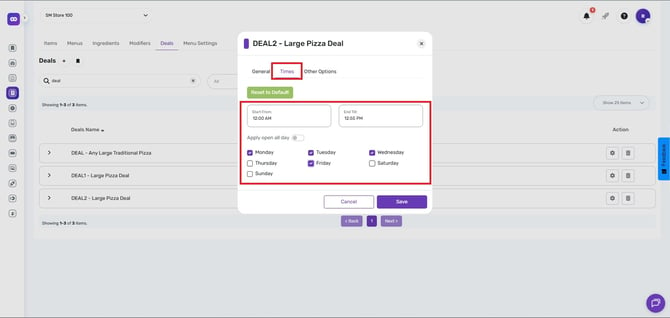
Set Deal Timing:
Specify when the deal ends.
Choose “Open All Day” or select specific days.
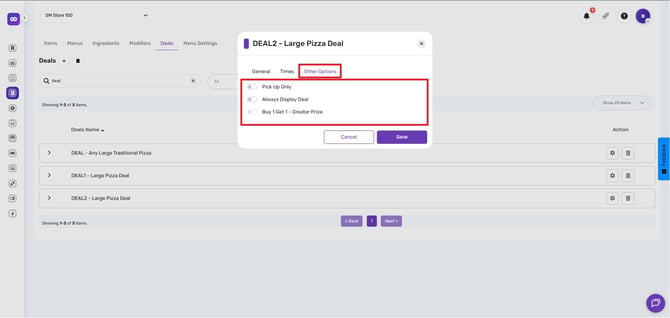
Other Options:
Tick Pickup Only if the deal is exclusive to Pickup Transactions
Tick Always Display Deal to view the Deal outside of the available times
Deal Construction
Single Item
-
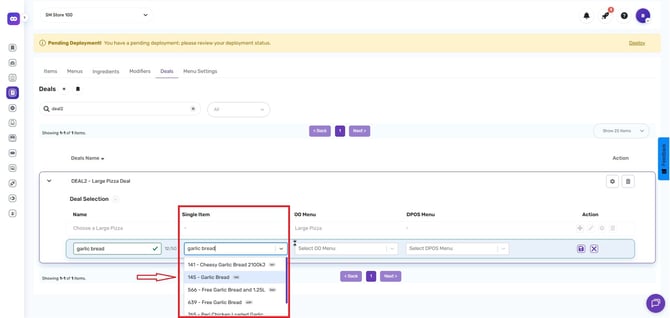
Add a new Selection by clicking the Add Selections button.
-
Click on the Single Item Field and search for the desired Item.
-
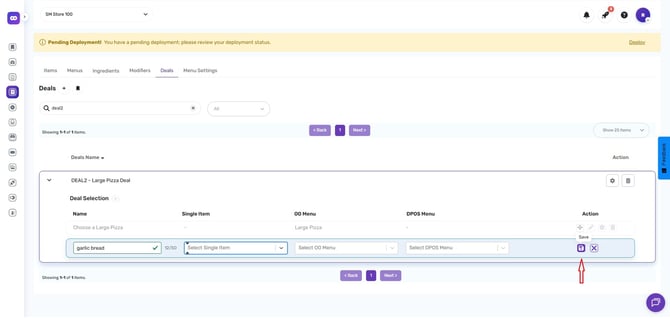
Enter the Selection Name (If Multiple Selections are present, each Selection name must be Unique).
-
Click Save
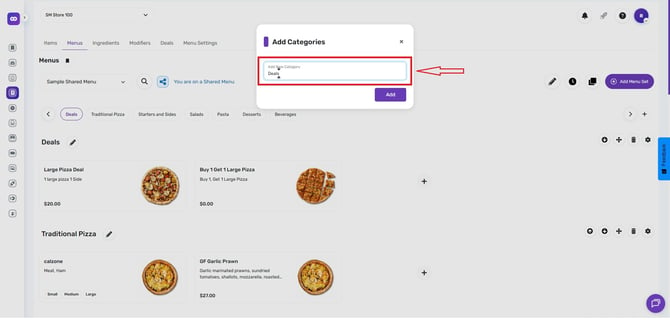
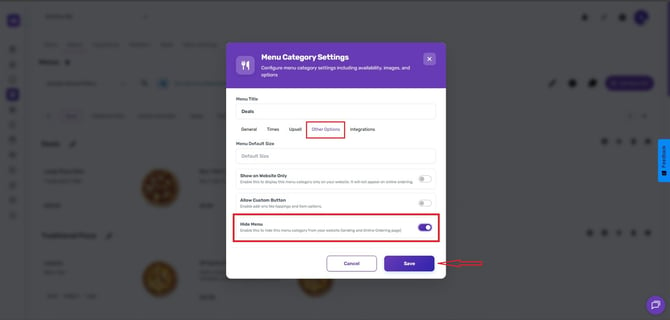
Please note: If the required menu for the deal selection does not exist, you will need to create one.
- If you have a Deals Condiments menu set, create a new category within that menu set.
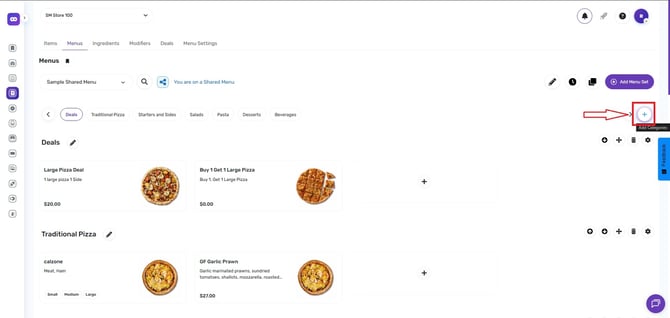
- For instructions on creating a new menu set, click this link.
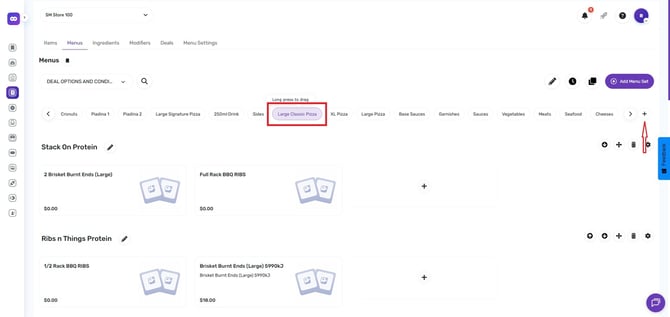
- If you only have Online Ordering (OO) menu sets available, create the category there and mark it as Hidden so it is not displayed to customers as a stand-alone menu category
Menu Selection
-
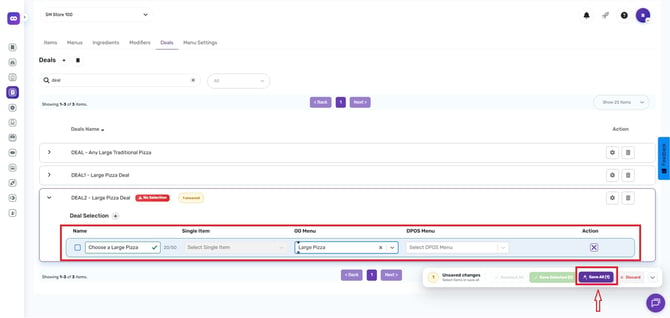
Add new Selection (+)icon,
-
Click on the Menu Field and search for the desired Deal Menu.
-
Enter the Selection Name (If Multiple Selections are present, each Selection name must be Unique).
-
Click Save.
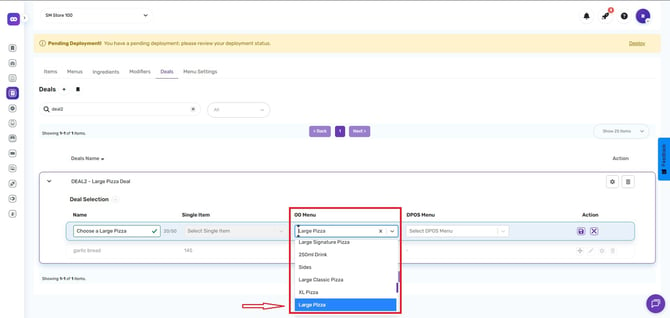
You can select the DPOS menu where you want the item to be added. If you haven't created the required DPOS menu yet, please refer to this Link on creating a new DPOS Touch Menu.
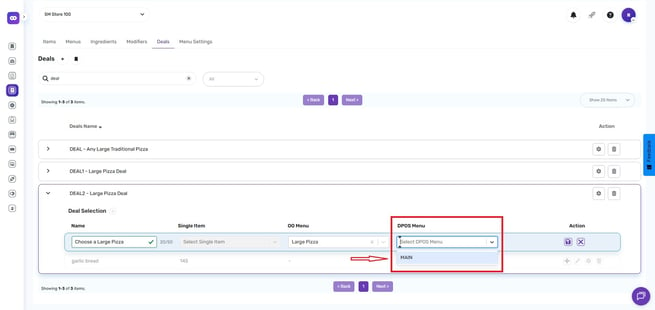
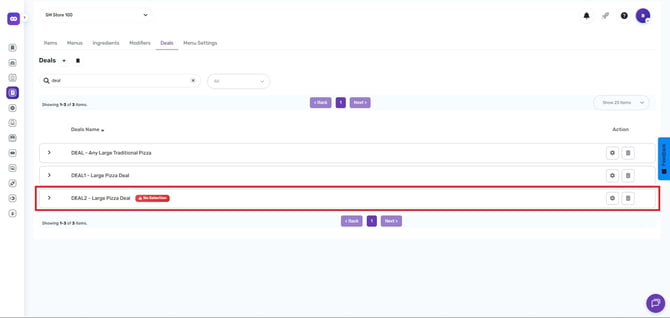
Important: Deals require a DPOS menu assignment. If the DPOS menu is blank, the deal will not work in DPOS.
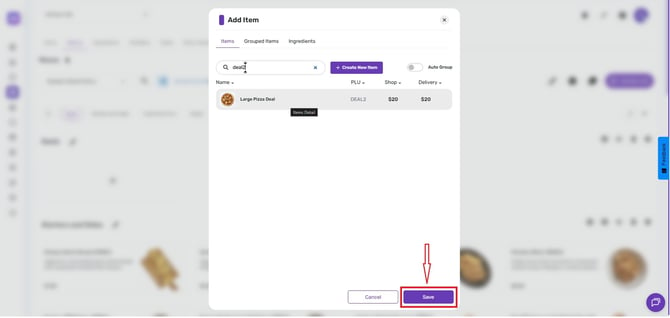
Assign Deals to Menu:
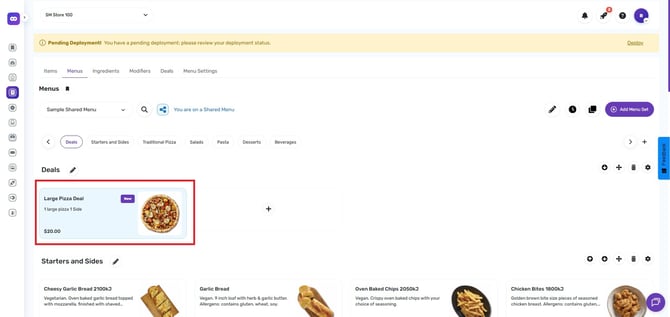
Go back to Menus and assign the Deal you created to the menu.
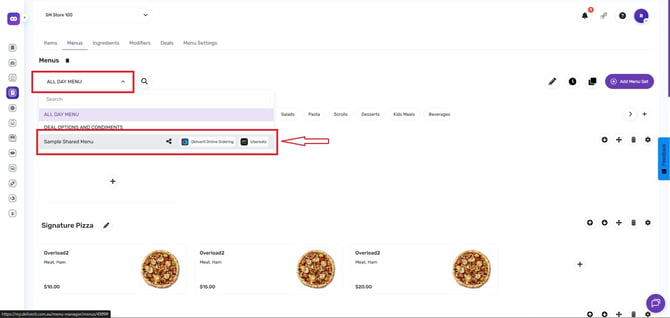
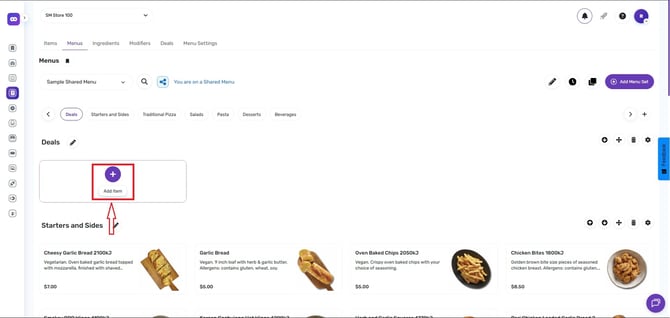
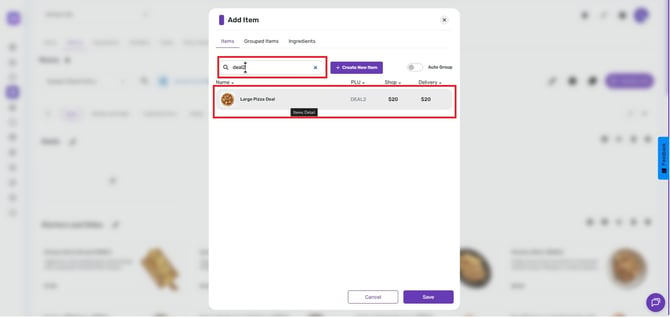
Click the rocket icon and hit Deploy.
By following these steps, you will be able to utilise the Deals on Deliverit Studio efficiently. If you need further assistance, simply click the blue chat icon at the bottom-right corner of the screen to connect directly with our Application Support Team.