Adding or Removing Extras on the Orders Screen
This guide helps you manage item extras and toppings in your store using DPOS. Stores can use this when customizing orders per items/dishes.
How to modify extras
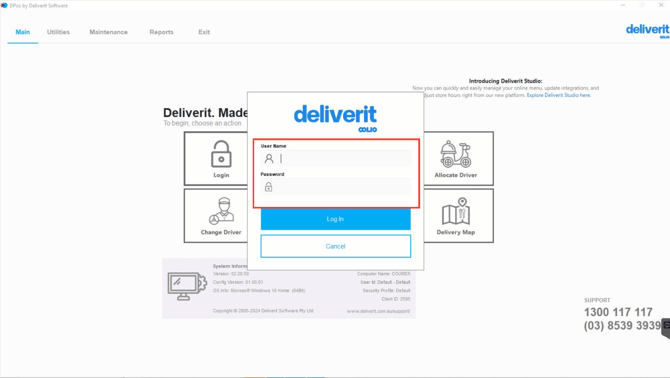
Log into DPOS:
Enter your username and password to access the system.
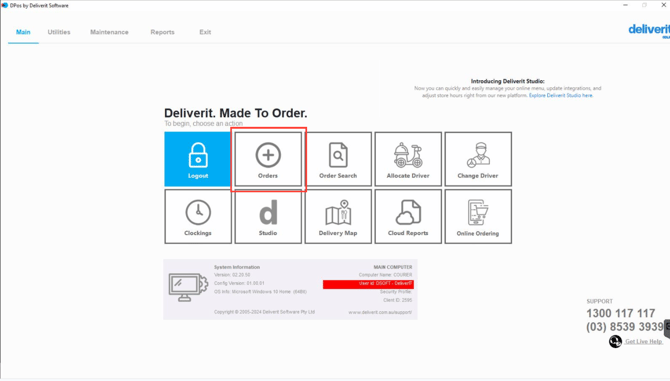
Access the Orders Section:
Once logged in, find and click on the Orders section in the main menu.
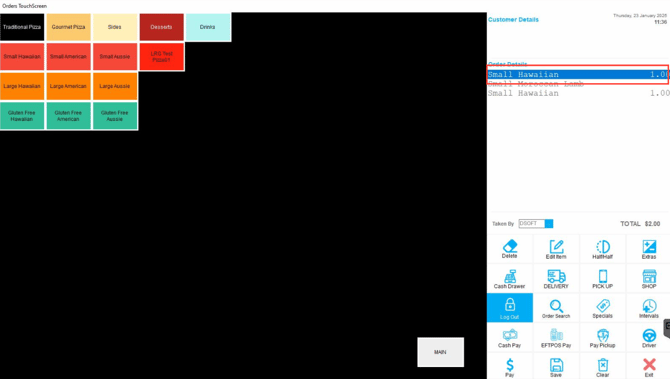
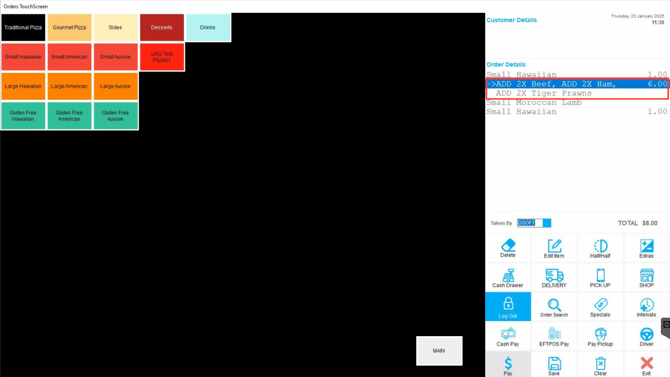
Select an Item:
Browse through the menu and select the item you want to allocate toppings to.
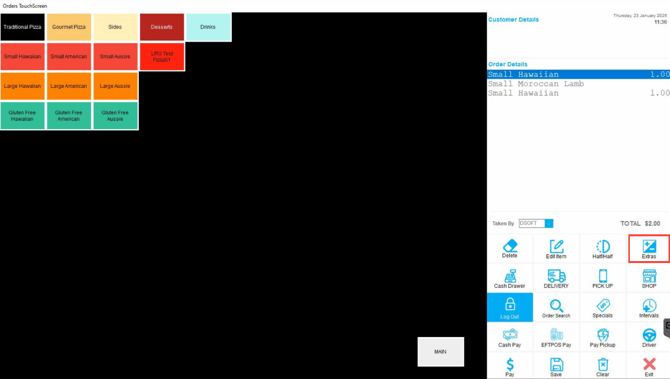
Open Extras Menu:
Look for the Extras button associated with the selected item and click on it.
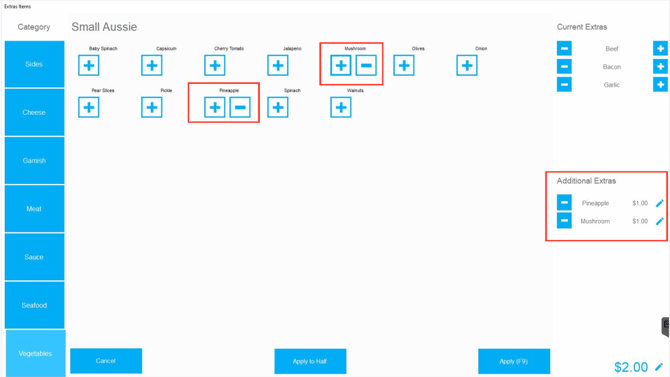
Add or Remove Toppings:
Use the plus (+) button to add and the minus (-) button to remove toppings.
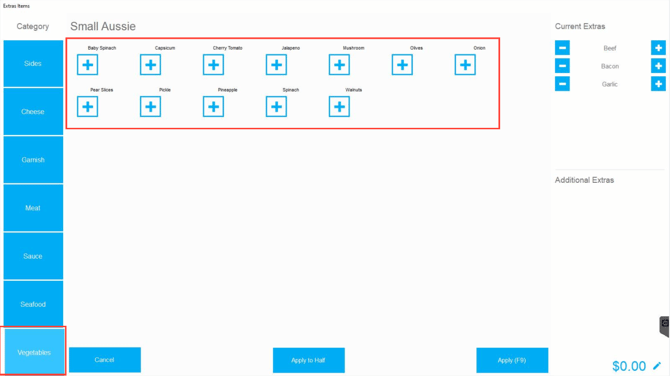
Ingredient Selection:
The right-hand side contains ingredients for the current item.
To add other extras, select them from the left-hand side category selections.
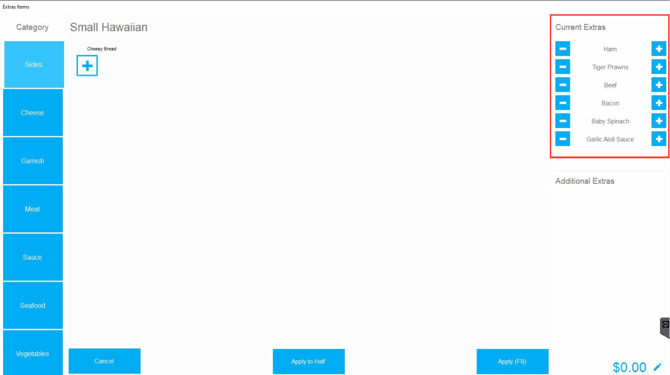
Review Changes:
On the right side of the screen, you will see the current toppings for the selected item.
This ensures you can efficiently add or remove extras from orders using DPOS.
Log in to your DPOS credentials.
Enter your username and password to access the system.
Navigate to the Orders section.
Once logged in, find and click on the "Orders" section in the main menu.
Select an item from the list.
Browse through the menu and select the item you want to allocate toppings.
Click on the Extras button.
Look for the "Extras" button associated with the selected item and click on it.
Remove or add toppings
Use the minus button (-) to remove and the plus button (+) to add toppings.
Note: The right-hand side contains ingredients for the current item. If you wish to add other extras, you need to select them from the left-hand side category selections.
View current toppings.
On the right side of the screen, you will see the current toppings for the selected item.
By following these steps, you will be able to allocate current toppings to orders efficiently. If you need further assistance, simply click the blue chat icon at the bottom-right corner of the screen to connect directly with our Application Support Team.