
Step-by-Step Guide
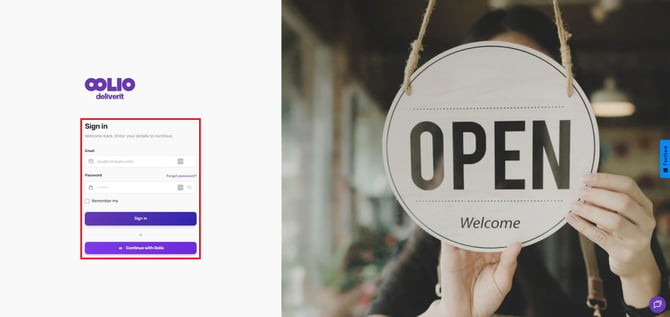
Log in to Deliverit Studio
- Enter your username and password
- Click Log In
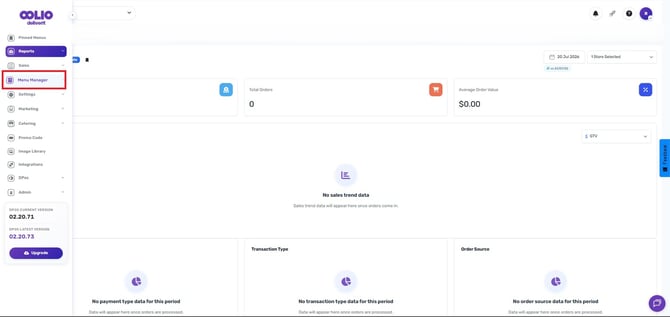
Access the Menu Manager
- From the left-hand menu, click on Menu Manager
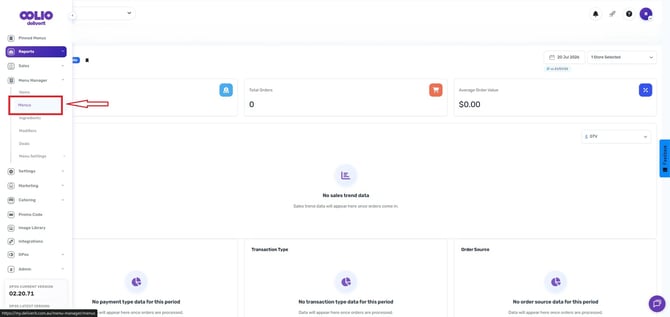
Choose Menus
- Click on the Menus tab
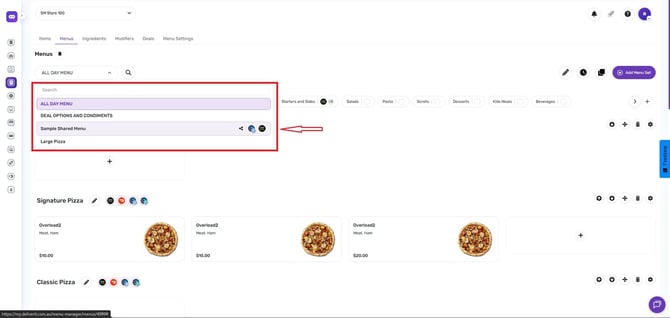
- Use the search bar and choose your Online Ordering
Note: If your store has separate menu sets for Uber Eats and DoorDash, identify the correct menu set using the platform logo and navigate accordingly before making any changes.
Choose a Category
- In the menu view, locate the category where you want to add the item (e.g., Pizzas, Sides, Drinks)
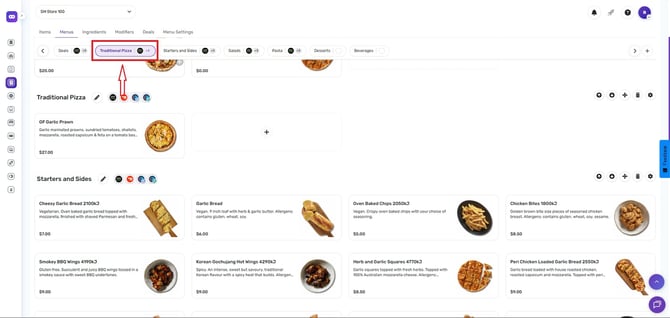
Add the New Item
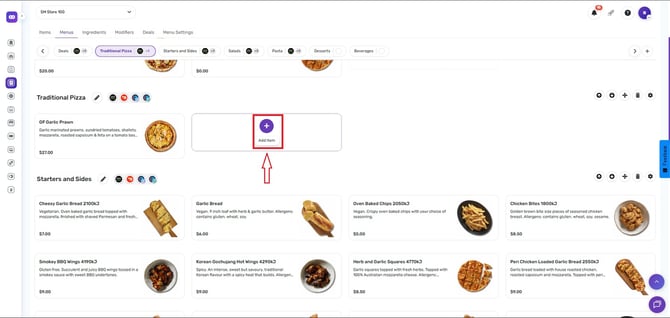
- Click the Add Item (+) button next to the category
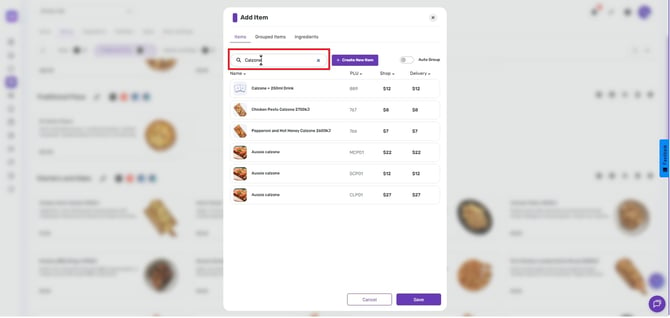
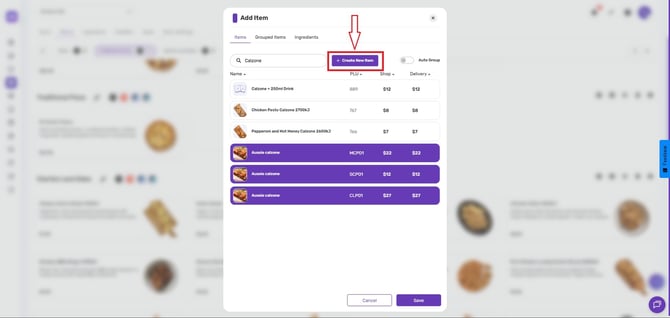
- Use the search bar to find the item you want to add
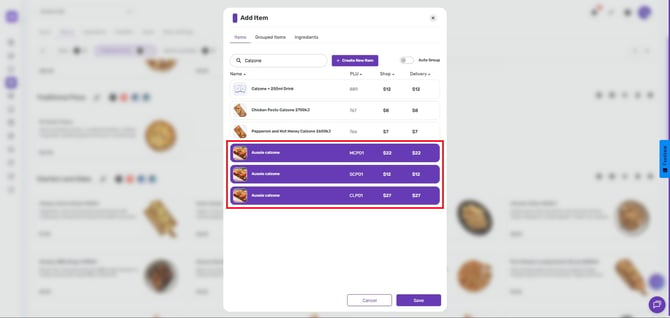
- Click on the item to select it
- If you can’t find the item, you can easily create it by selecting Create New Item and entering the required information. For a clear step-by-step tutorial, check out the link: How to Use the Add Item Wizard on Deliverit Studio
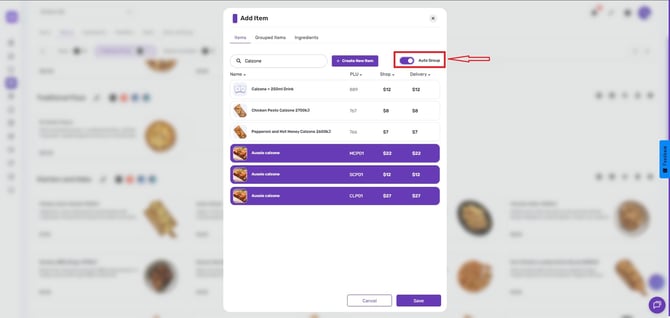
- If you want all items to be organised under one group, just click the Auto Group button to automatically arrange them.
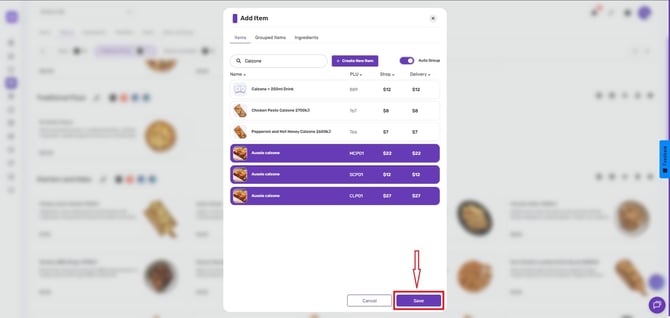
- When done, click Save
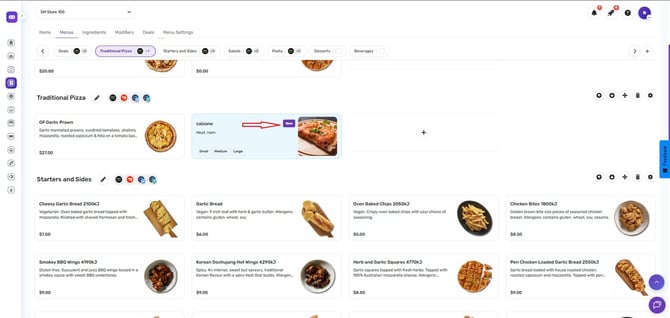
Note: The items added will be tagged as New.
Deploy Your Changes
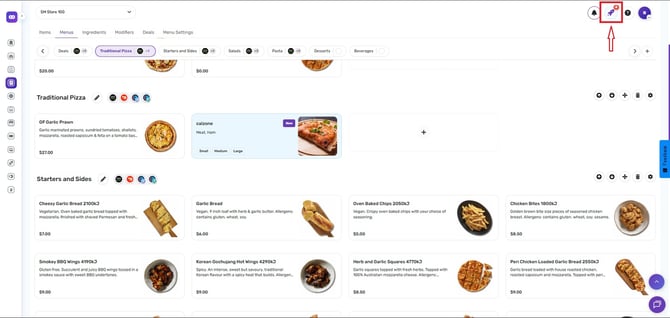
- Click the rocket icon at the top right
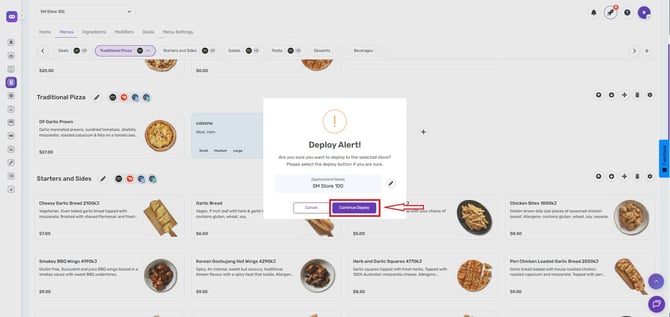
- Click Deploy to apply the updates and make the item live online
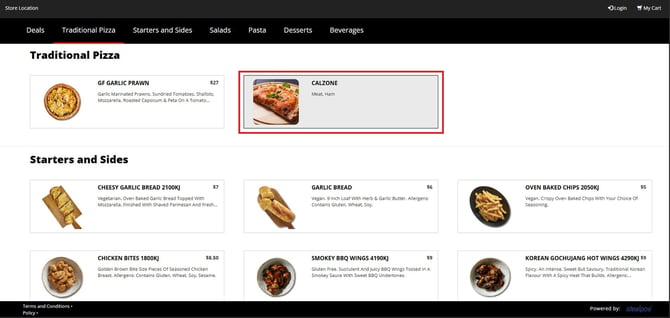
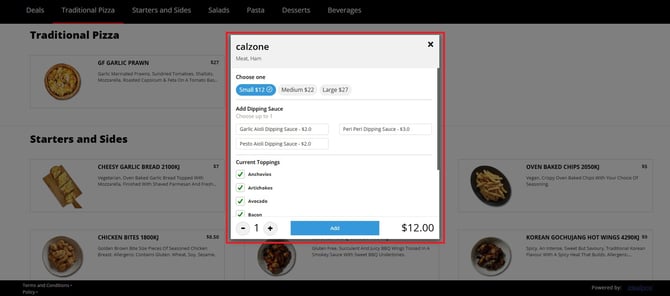
Please reload your website (Uber and DoorDash Platforms) and ensure the new item(s) are visible.
By following these steps, you will be able to add new items to your online ordering menu in Deliverit Studio efficiently. If you need further assistance, simply click the blue chat icon at the bottom-right corner of the screen to connect directly with our Application Support Team.