Step-by-Step Guide
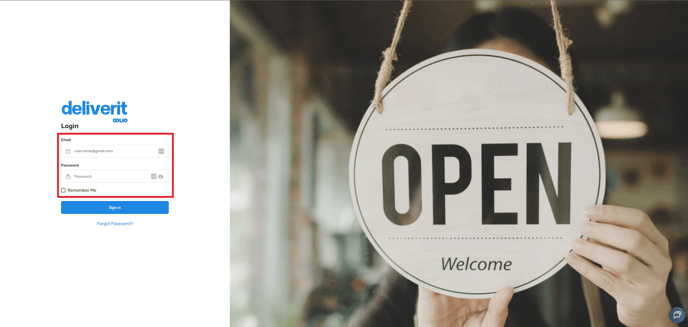
Log in to Deliverit Studio
- Open your web browser and go to my.deliverit.com.au.
- Log in using your Deliverit Cloud credentials.
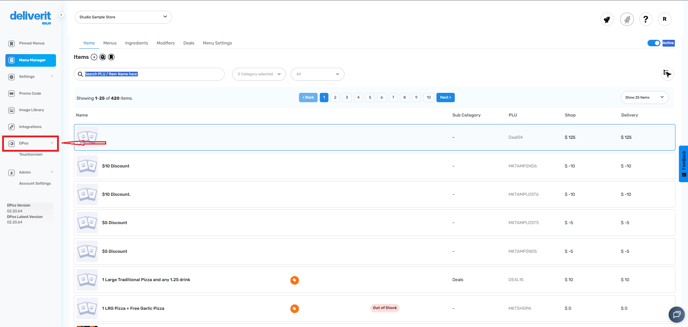
Access the DPos Section
- From the main menu on the left-hand side, select DPos.
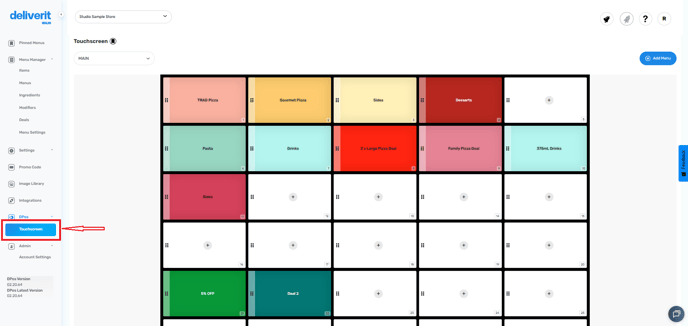
Choose Your Touchscreen
- Click on the Touchscreen option to open the configuration settings.
Add a New Menu
- Click the Add Menu button.
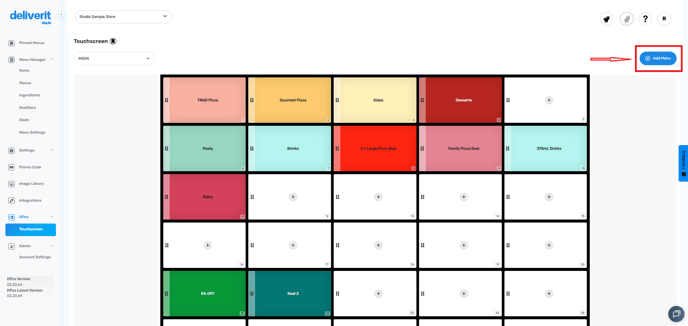
- In the pop-up or input field, enter the name of your new menu.
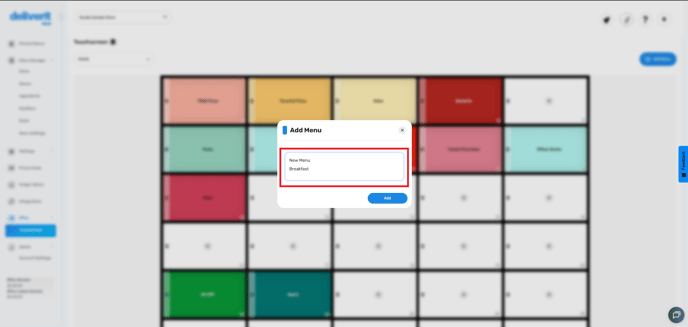
Save the Menu
- Once you’ve entered the menu name, click the Add button to save it.
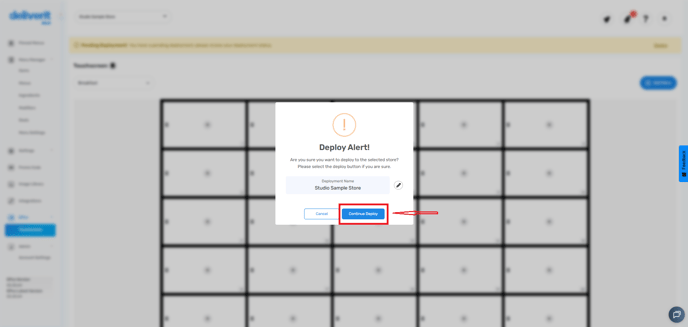
Deploy Your Changes
- Click the rocket icon at the top right of the screen to deploy your changes.
- This ensures your new menu is pushed to the DPos terminal.
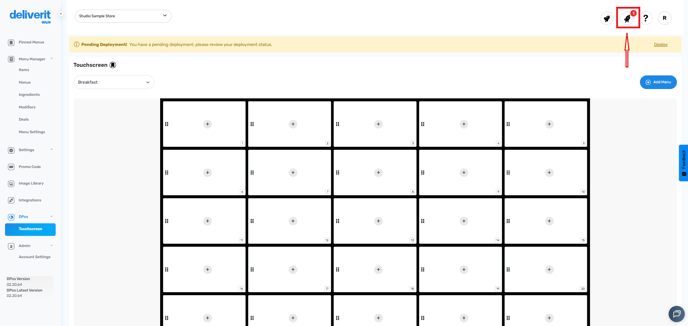
Verify the Menu on DPos
- After deployment, check your DPos touchscreen.
- Your newly added menu should now appear in the Menu Dropdown List.

Note: To add items under your new menu, follow this guide: How to Add a New Item to the DPos Touchscreen from Deliverit Studio
By following these steps, you can easily create and manage menus for your DPos touchscreen through Deliverit Studio. If you need further assistance, simply click the blue chat icon at the bottom-right corner of the screen to connect directly with our Application Support Team.