Step-by-Step Instructions
Log in to DPOS
- Open the DPOS application.
- Use your admin credentials to log in.

Access the Utilities Tab
- Go to the Utilities tab in the main menu.
- Click the Generate Multiple Reports button.

Set the Date Range
- Choose the date range for the reports you want to generate.
- Make sure the dates cover the period you want to analyze.

Select the Reports
- You can choose multiple reports based on your business needs.

Preview or Print the Reports
You have two options for viewing your reports:- Preview: To view the reports on screen.
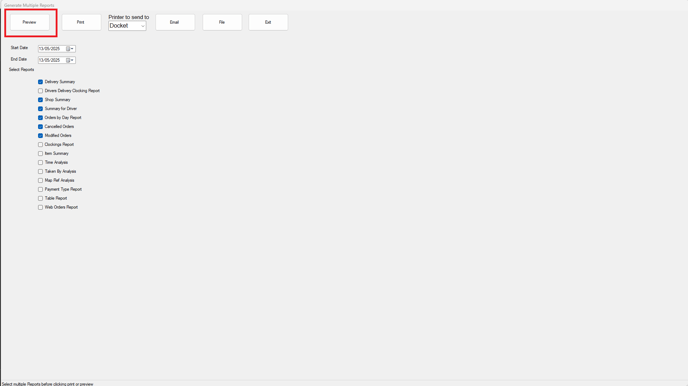
- Print: To send the reports directly to your printer.

💡 Tips:
- Use the Preview option if you want to check the data before printing.

By following these steps, you will be able to generate multiple reports on DPOS efficiently. If you require further assistance, please contact our application support team.